We spend a lot of time looking for auroras, but what do we do when we can’t find one? Fellow hunters, meet northern lights painting.
Northern lights painting may not be the first thing you think of when you pack your bags for a hunt. (And it might mean something different to different people! Don’t worry, we’ll come back later for the crafters.)
But if we’ve learned anything at all from years of chasing the aurora, it’s how to be prepared for any and all kinds of nights. Whether there’s a show to see, or not.
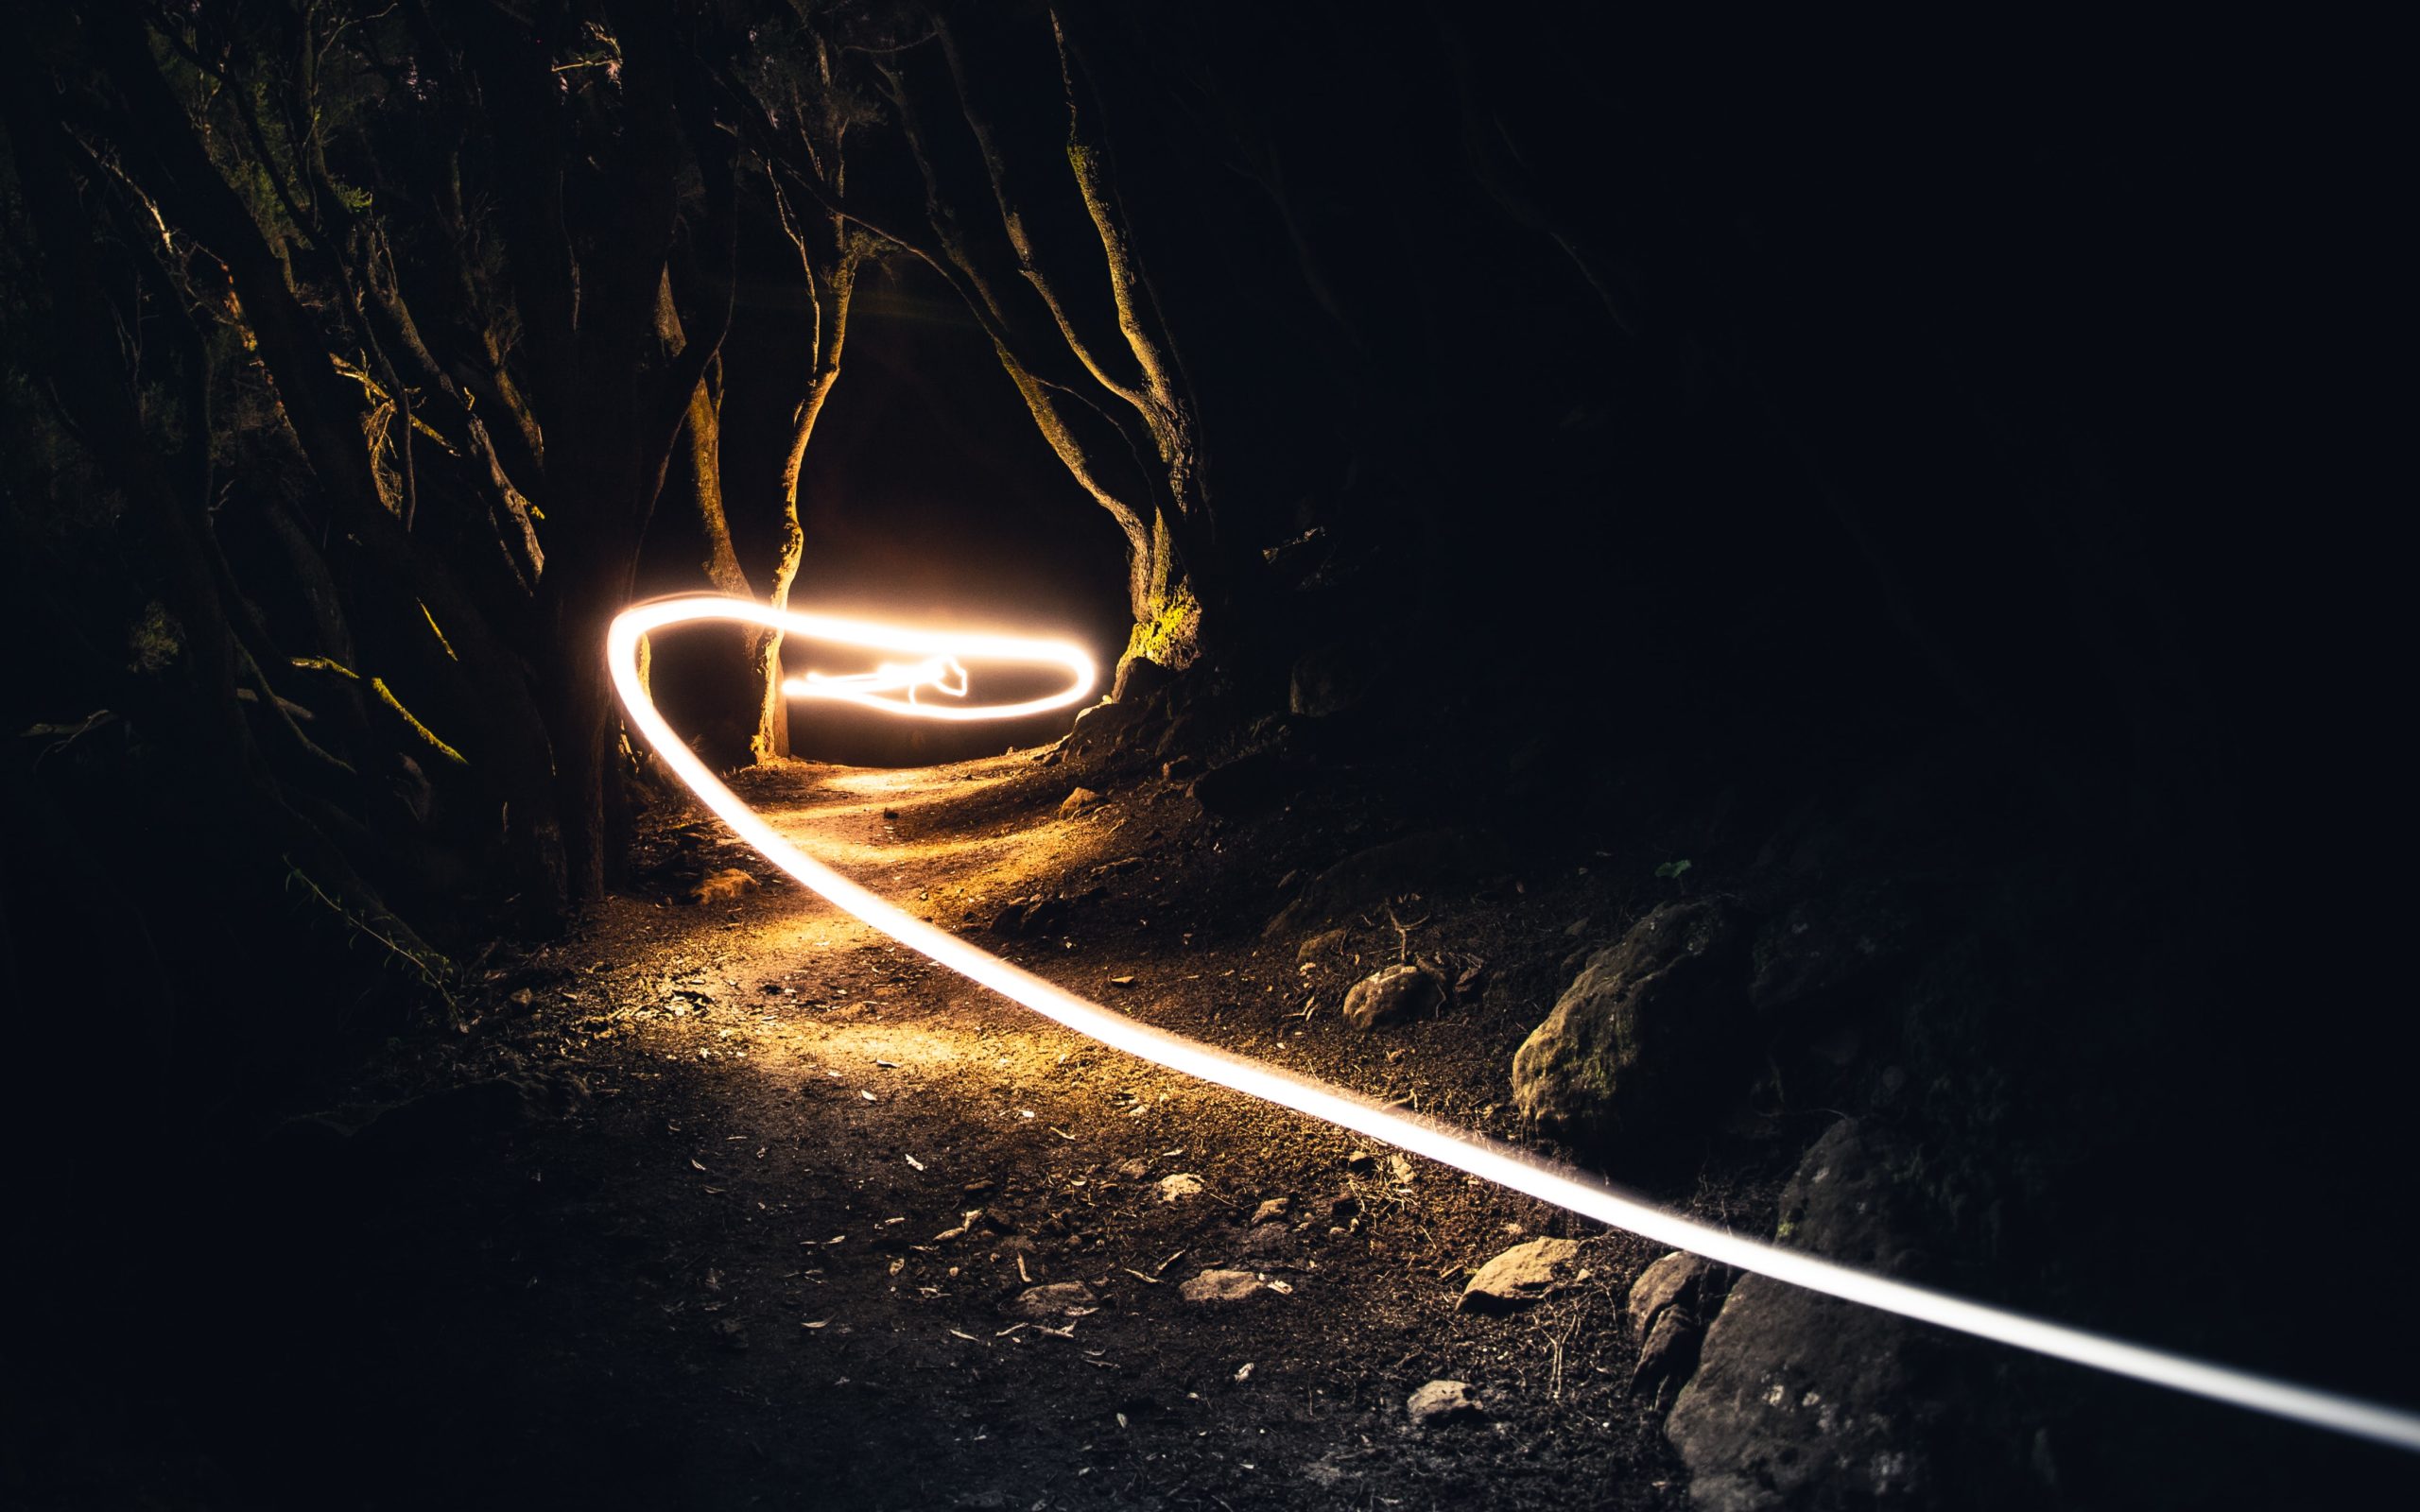
1. Light painting, or, Northern Lights Painting
Known as “Light Painting” or “experimental long exposure photography”, this is the ultimate activity when you’re waiting on the lights to show up. It may not be auroras, but it’s a fan favorite for a dark night with no show.
Popular in its own right, light painting or, northern lights painting, as we like to call it, is an activity that requires a camera. All you need to do this is a DSLR camera or a camera that can accommodate a long shutter setting, a tripod or flat surface, and a light.
This is an experimental process for a reason, and there is no wrong way to do your own northern lights painting. (Well, as long as you’ve got the flat surface and the long shutter. If your camera is moving you’ll have a hard time capturing an image, and if you can’t access a longer shutter, it will be harder to create these effects.)
That being said, this is an activity for people of all levels of artistic skill. The photos you make will look differently depending on where you are, what settings you try, and what tools you use to create light.
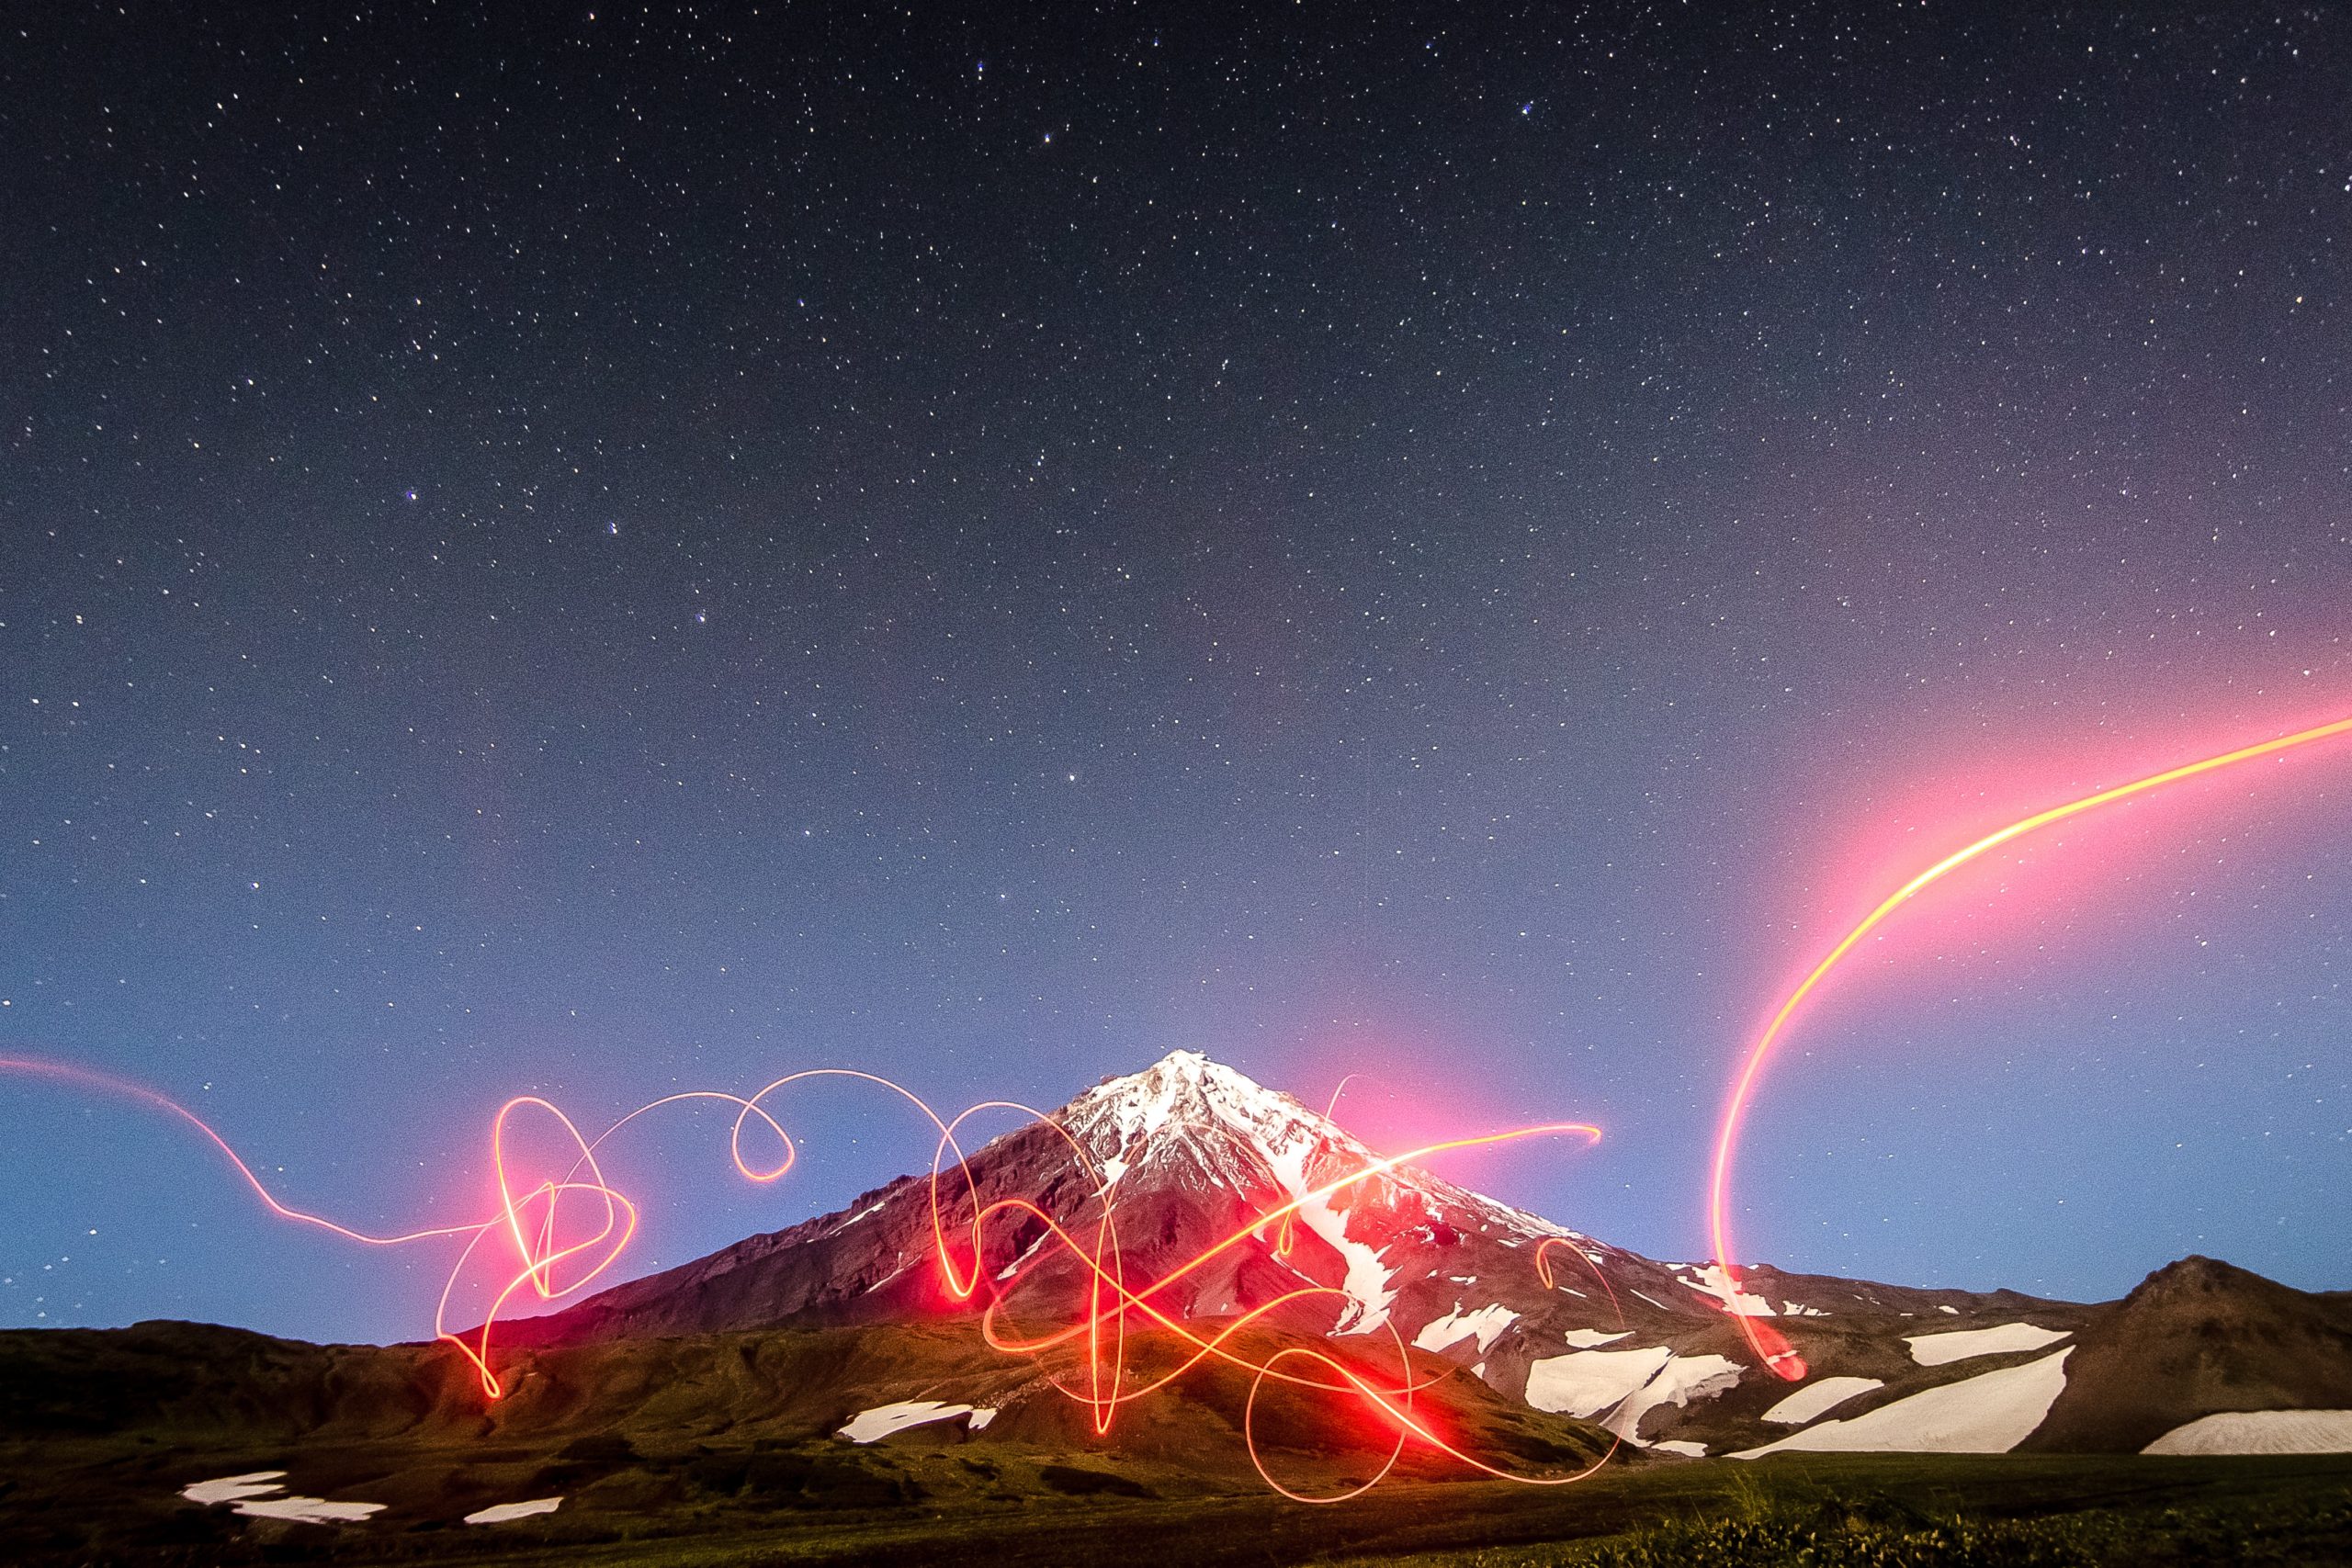
You can even do this inside! (Though, we find ourselves doing this outside most of the time, since we’re always waiting on the aurora to show up.)
Once you’ve got your tripod and your camera set up, you’ll be using a lot of the same settings you’d use for a northern lights shot. This means low aperture, and typically a higher ISO than you’d use for a daylight photo.
(Depending on the effect you’re going for, this could be an ISO as low as 400, and as high as 3600- but don’t take our word for it! This is art, so you’ll have to try different combinations out to see what look works best for you.)
And the key of course, is the extended shutter. Most cameras can accommodate up to 30 seconds of shutter, which is plenty for time for you to create a compelling shape or image. If you find that this is too bright, remember the golden rule of northern lights painting, and adjust till you get the look you want.
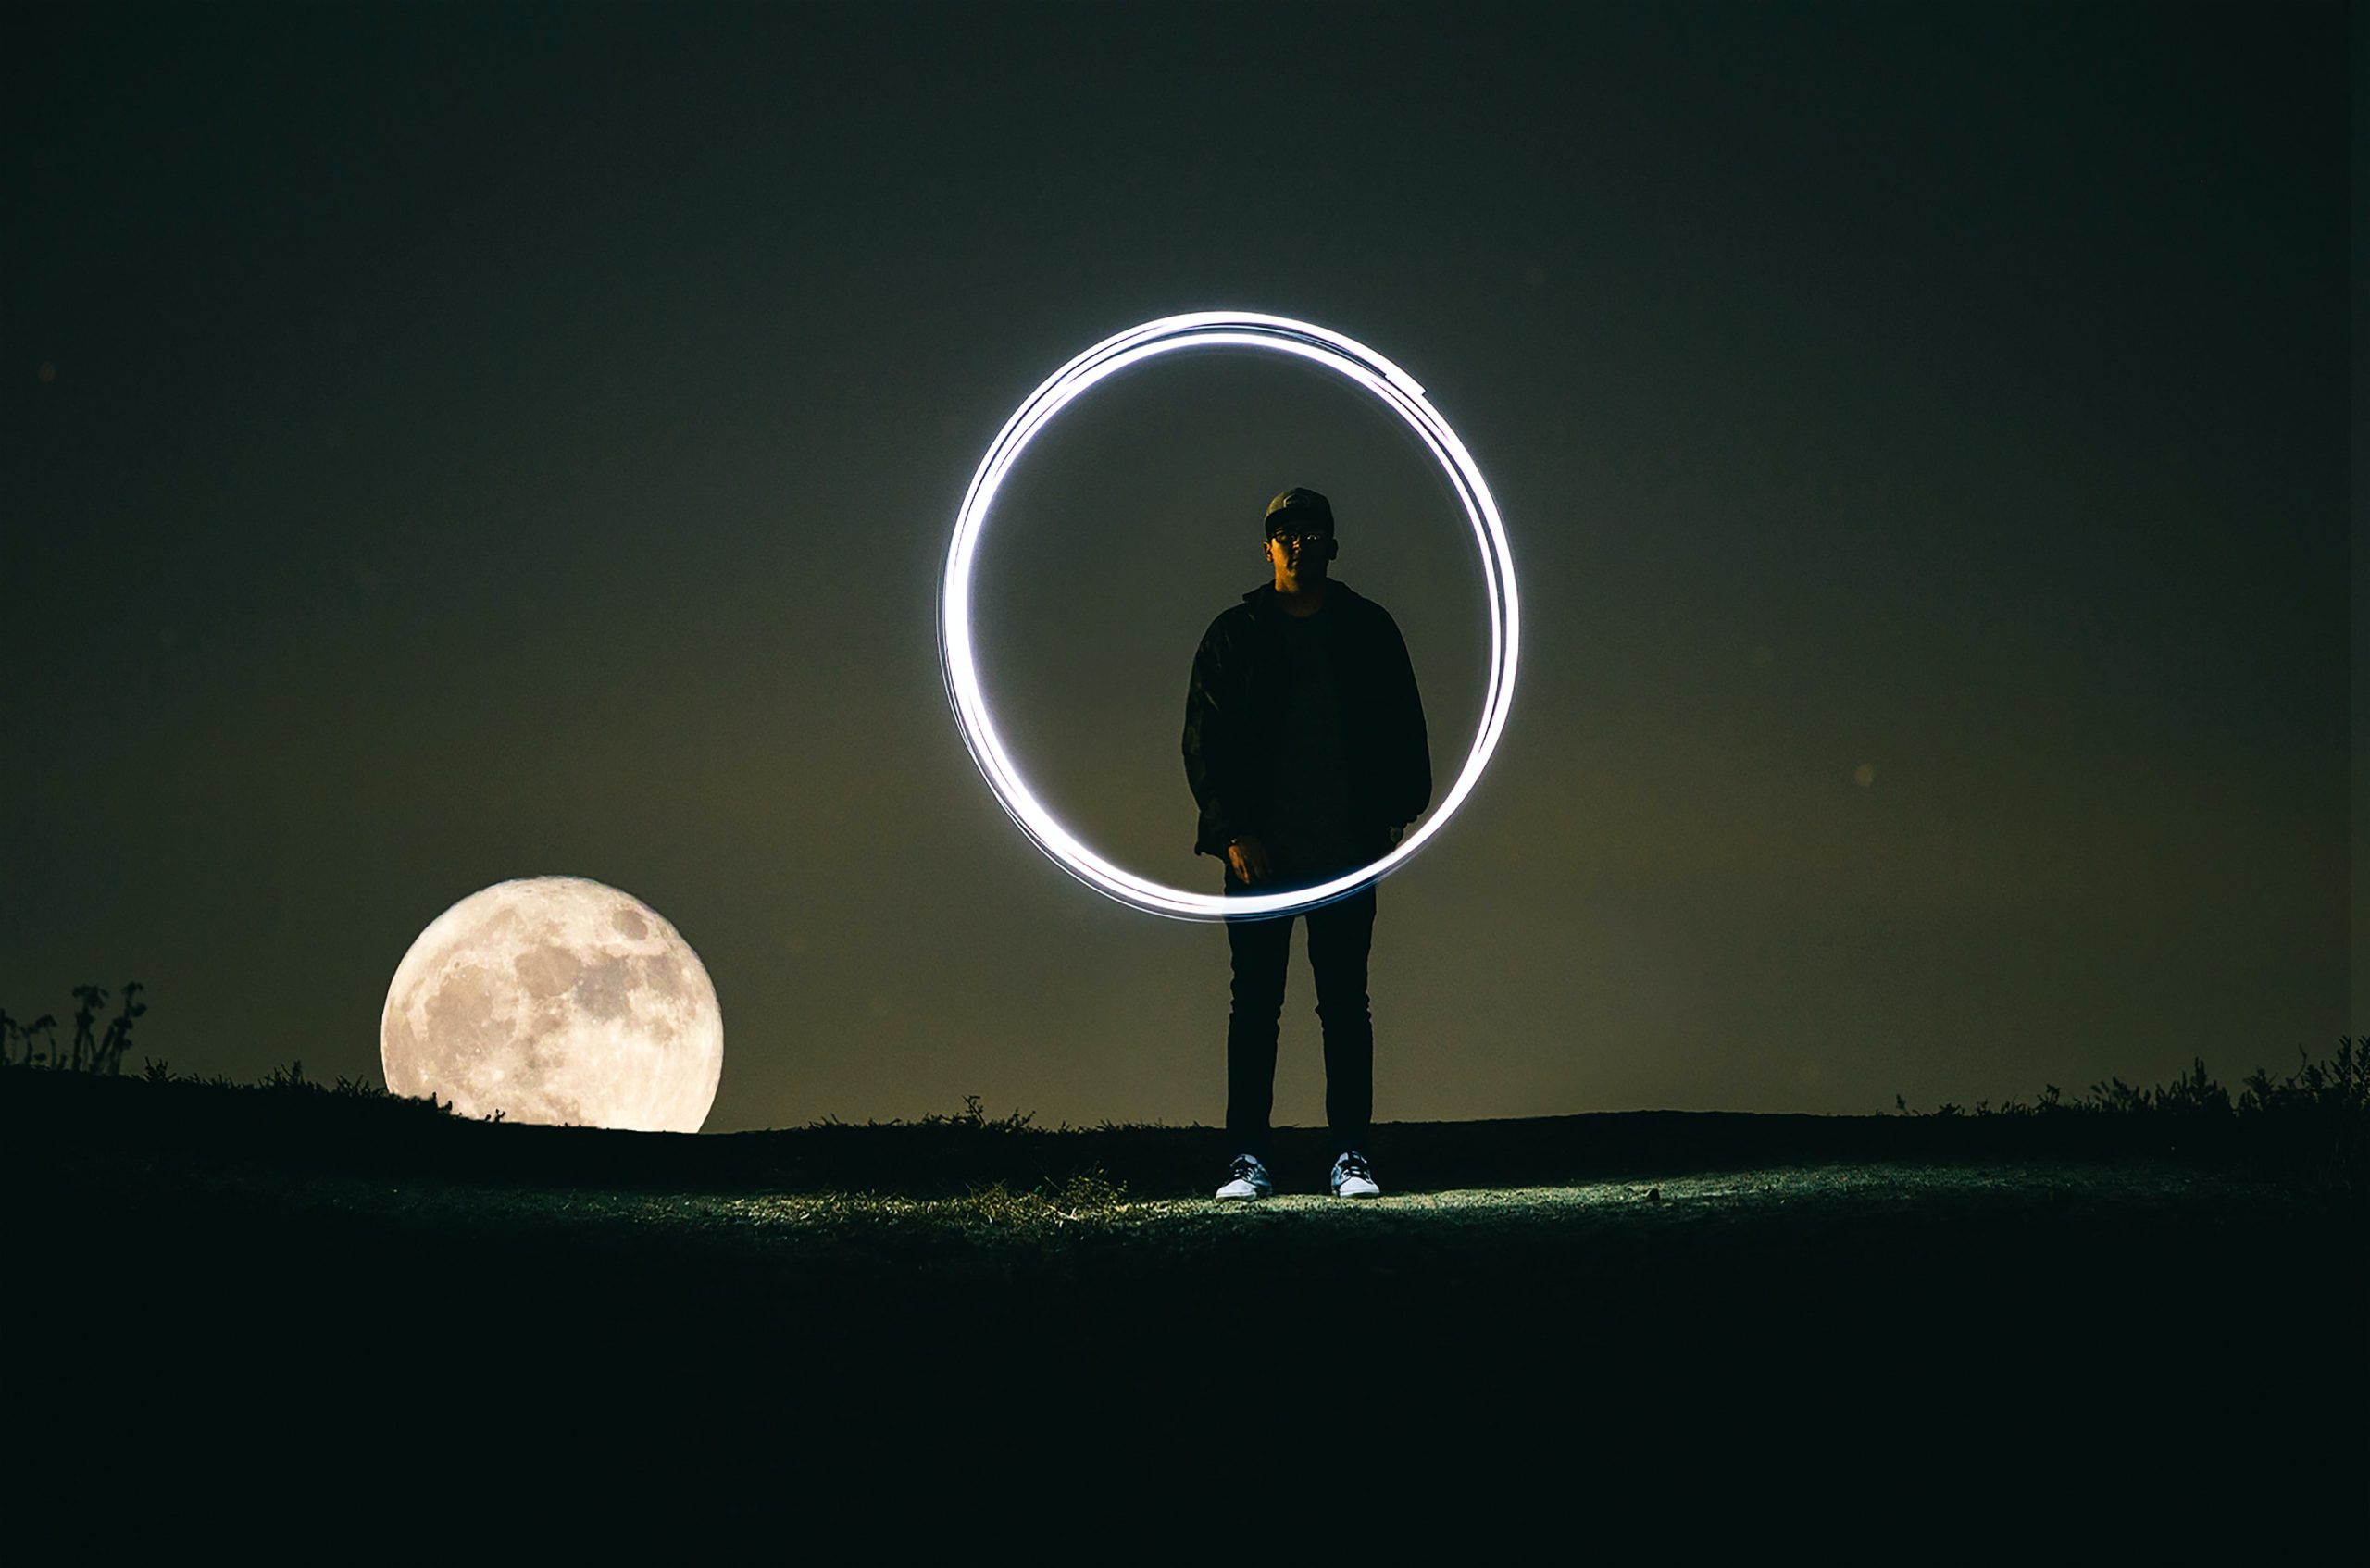
These photos are created by manipulating lit items in the camera’s field of vision. This means you can use fairy lights, mobile phones, torches, sparklers, LED tools, and so on. You can write messages, create three-dimensional patterns, draw shapes- the opportunities are endless. You can make your own aurora! (It is northern lights painting, after all..)
This is a great activity whether or not the lights are out, and we suggest checking out the work of other light painters. There are a lot of opinions on the best types of light, how to diffuse light with tracing paper, and how to color white light with plastics.
There are also countless tutorials on how to make the tools themselves, in order to achieve certain looks. (We are big fans of the long piece of wood with fairy lights taped to it.) If you choose to go the sparkler route, be careful!
Activities like this can spark dry grasses and create wildfires. Make sure you are operating in a damp area, and practicing fire safety while you work. No photo is worth an accidental blaze.
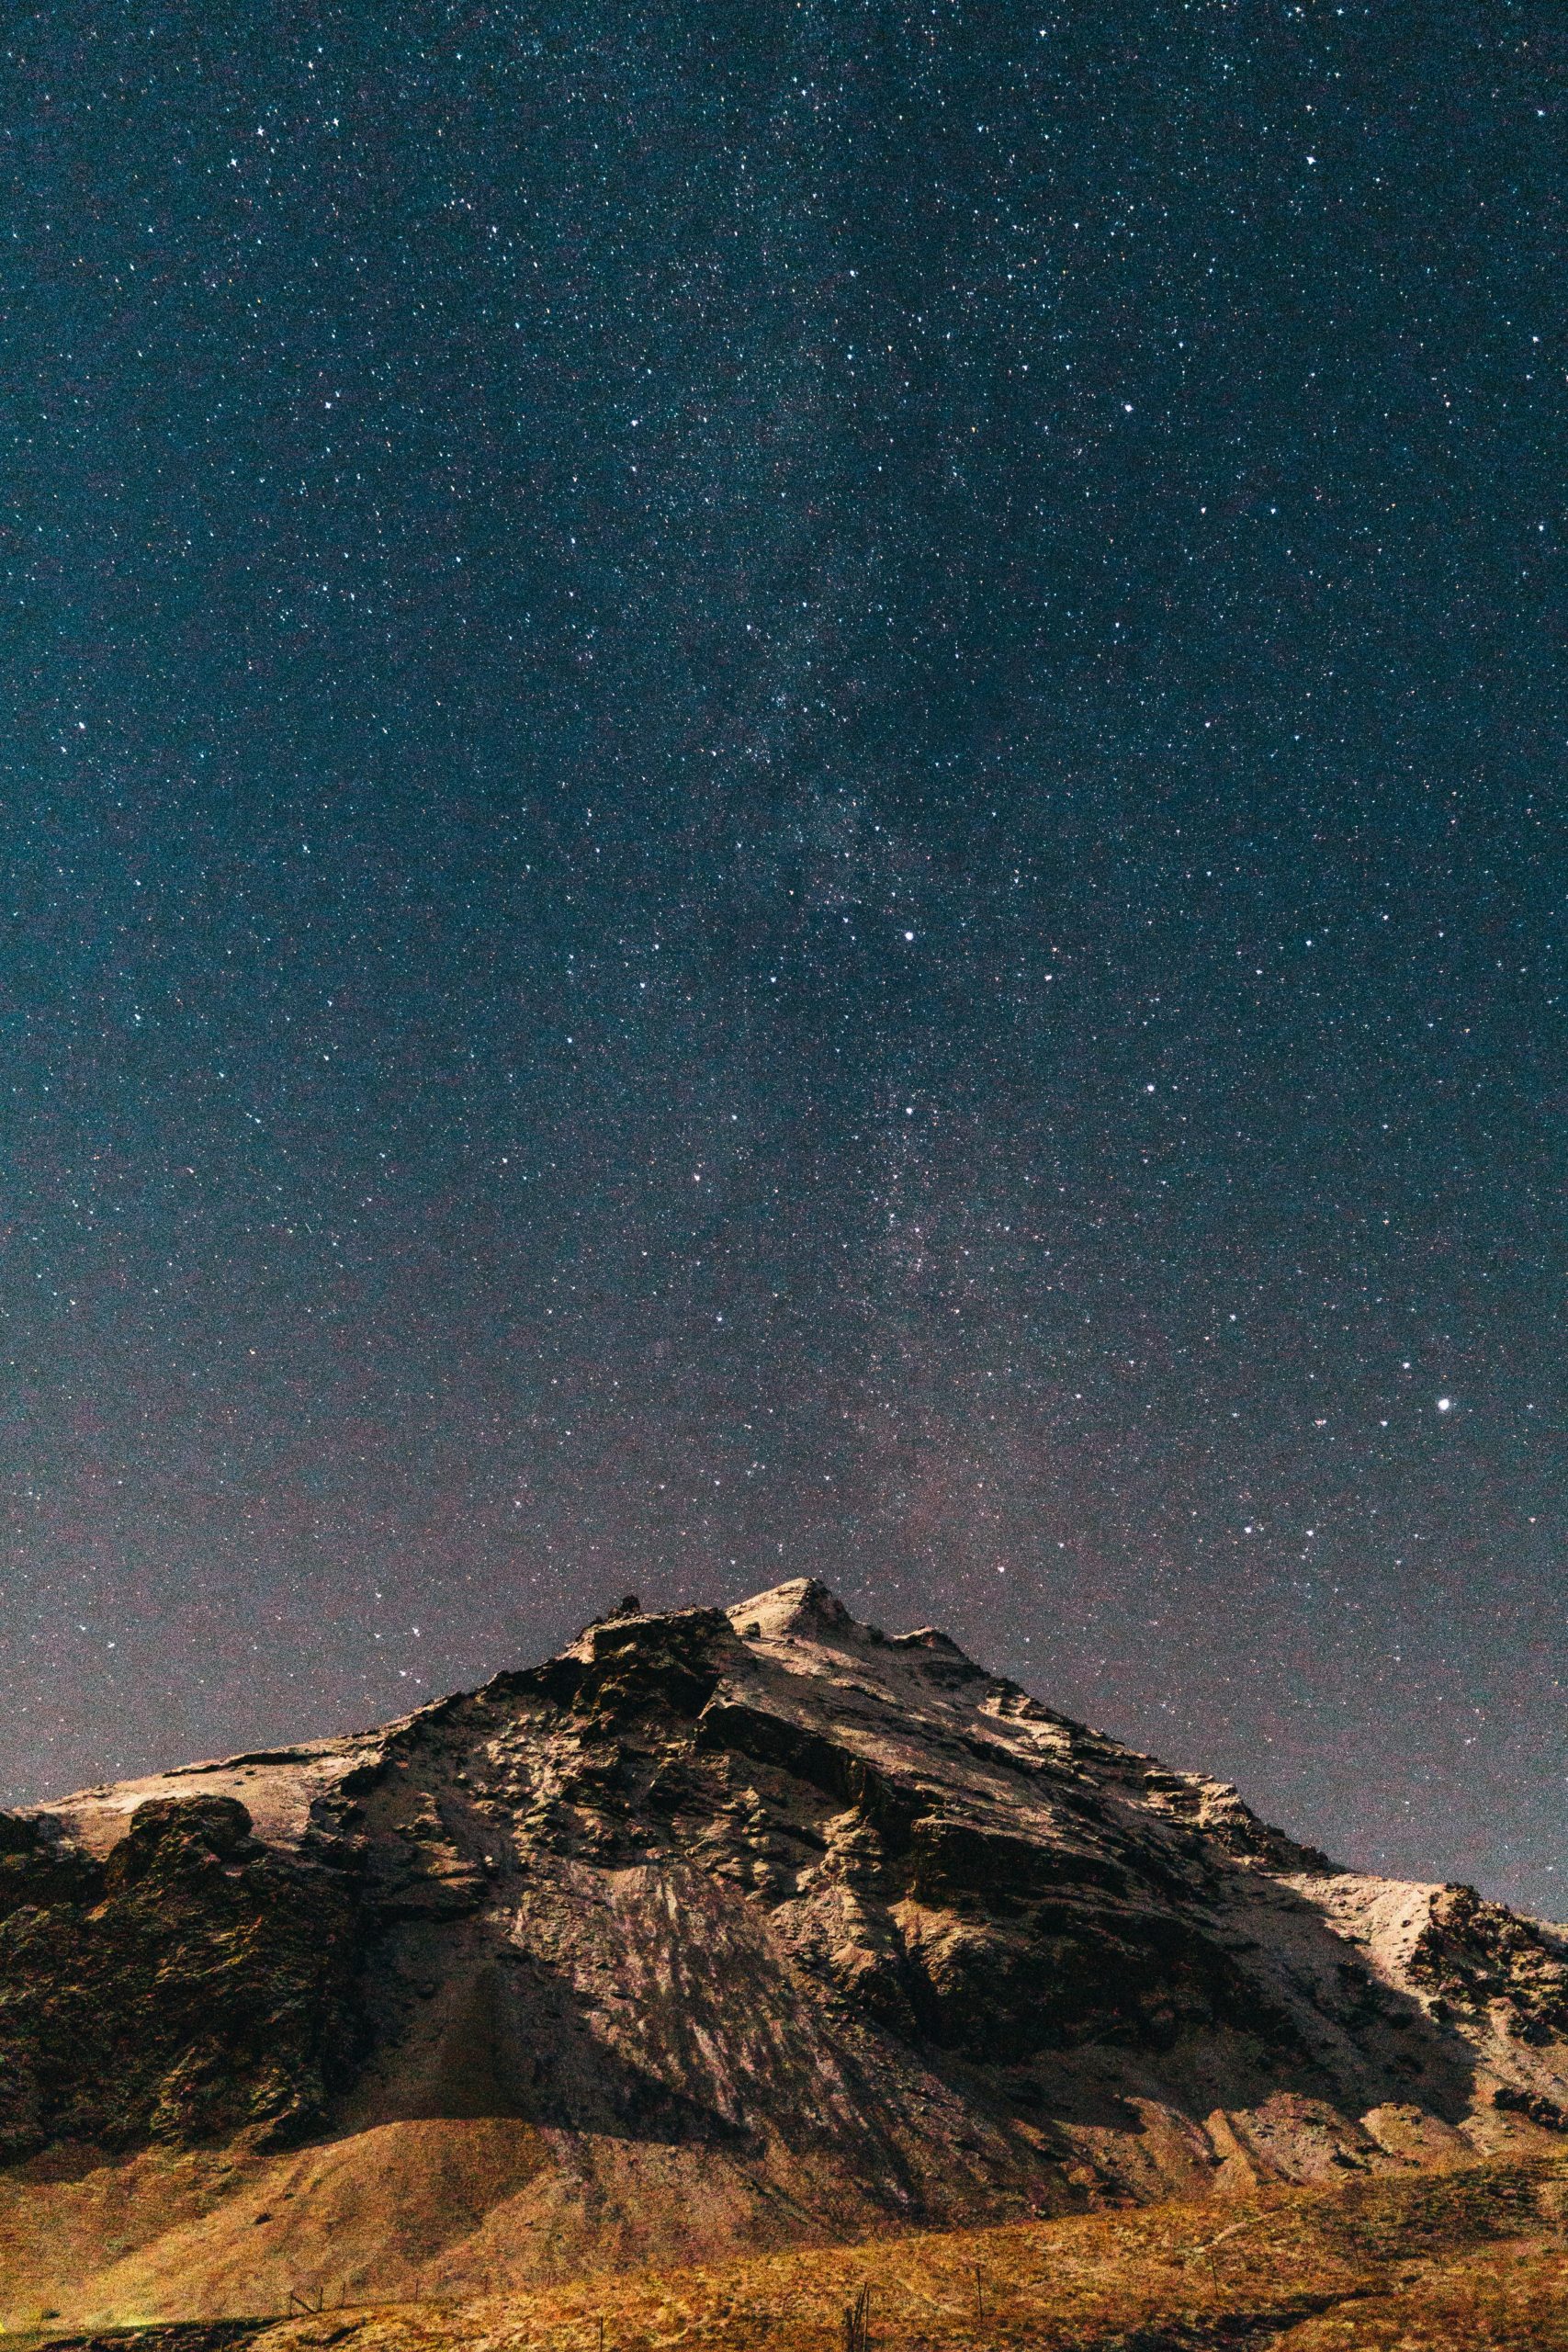
2. Stargazing and Telescoping out the heavens
Northern lights painting gives us something to do down here on Earth, but what about when we’re back to eyeing the skies?
That’s when it’s time to stargaze. While this activity does require the same clear skies as auroras, it doesn’t necessarily require any special equipment. (But don’t worry gadget collectors- there definitely is some.)
With a little knowledge and a lot of darkness, you can find constellations, planets, nebulas, and all sorts of celestial bodies. One can follow satellites, shooting stars, and even an eclipse or two in the Icelandic sky. (And you ought to make the best of it while you can, because we miss out on nearly ever summer event!)
However, if you want to elevate your stargazing experience, there are a lot of tools that can help you do this. Telescopes, binoculars, star maps, and more apps than you can imagine exist just for this very purpose.
Stargazing is a burgeoning hobby with an incredible community, and depending on where you are- there is likely a whole contingent of fellow gazers that you can learn from and watch with.
There also happens to be a lot to learn, so this hobby may stay with you far beyond an Icelandic holiday. Amateur space weather enthusiasts all over the world are even helping contribute to modern science.
In fact- it was stargazers that helped us understand STEVE. But, it’s a wide world out there. What far off planets or mysteries of the verse are YOU going to discover?
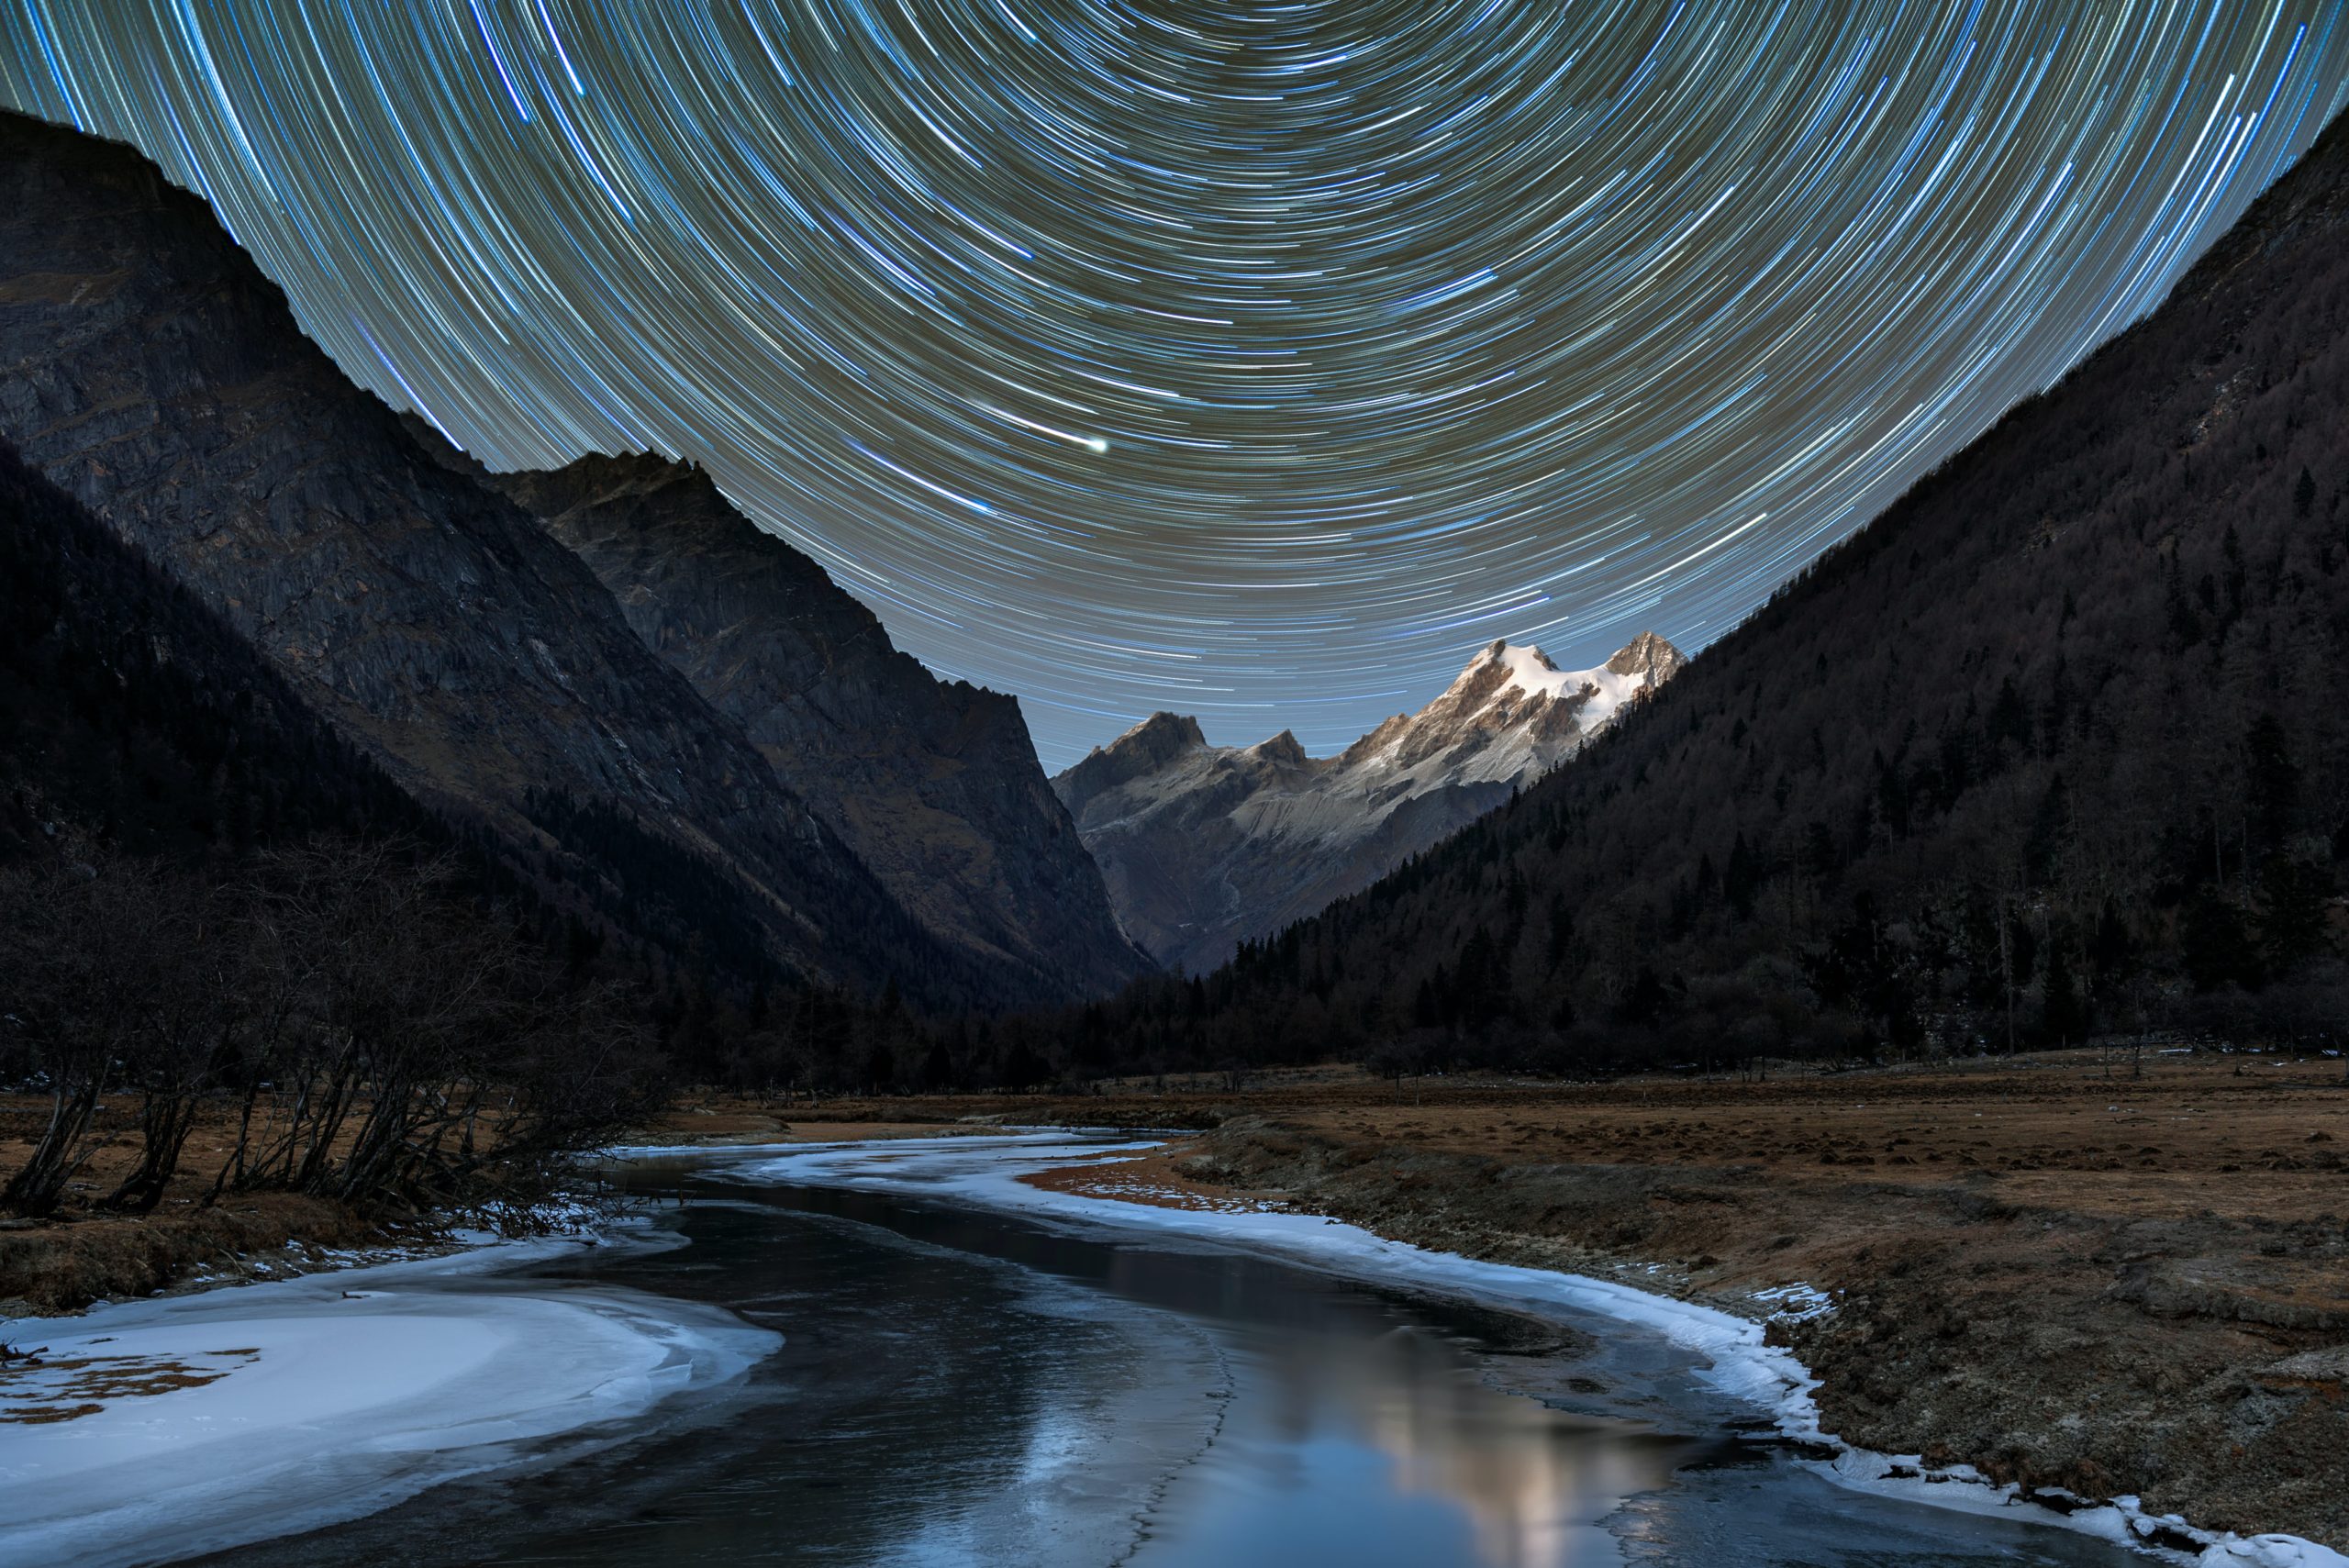
3. Astrophotography, Star Trails and Galaxy Hunts
While stargazing and northern lights painting can both become camera-centric activities, this is definitely one. Many aurora hunters end up becoming photographers out of necessity- because it is just too hard to chase such an ethereal thing and not keep a piece of it for yourself.
Photos are one of the many pieces of the magic, and they are not easily come by. Their rarity and the work that goes into making them is in some ways just as rewarding as the aurora hunt itself.
(Not to mention, a well-timed photo can be a great early detection tool in actually finding the northern lights on a dim evening.)
As many of you know, a great photo is the ultimate souvenir. It’s hard for a t-shirt or a fridge magnet to beat that kind of memento. But what do you do when there’s no aurora to capture?
That’s when we widen our scope even more, to astrophotography. Astrophotography is a big term that includes aurora photos- and about a thousand other things. The reality is that we can access so much more of the sky than we realize.
With the naked eye and our usual context in light polluted places, there’s a lot that we don’t see. But with a great lens (be it in a camera, telescope, or slick pair of binoculars,) suddenly the far rings of Saturn, or the super up close topography of the moon, become easily viewable.
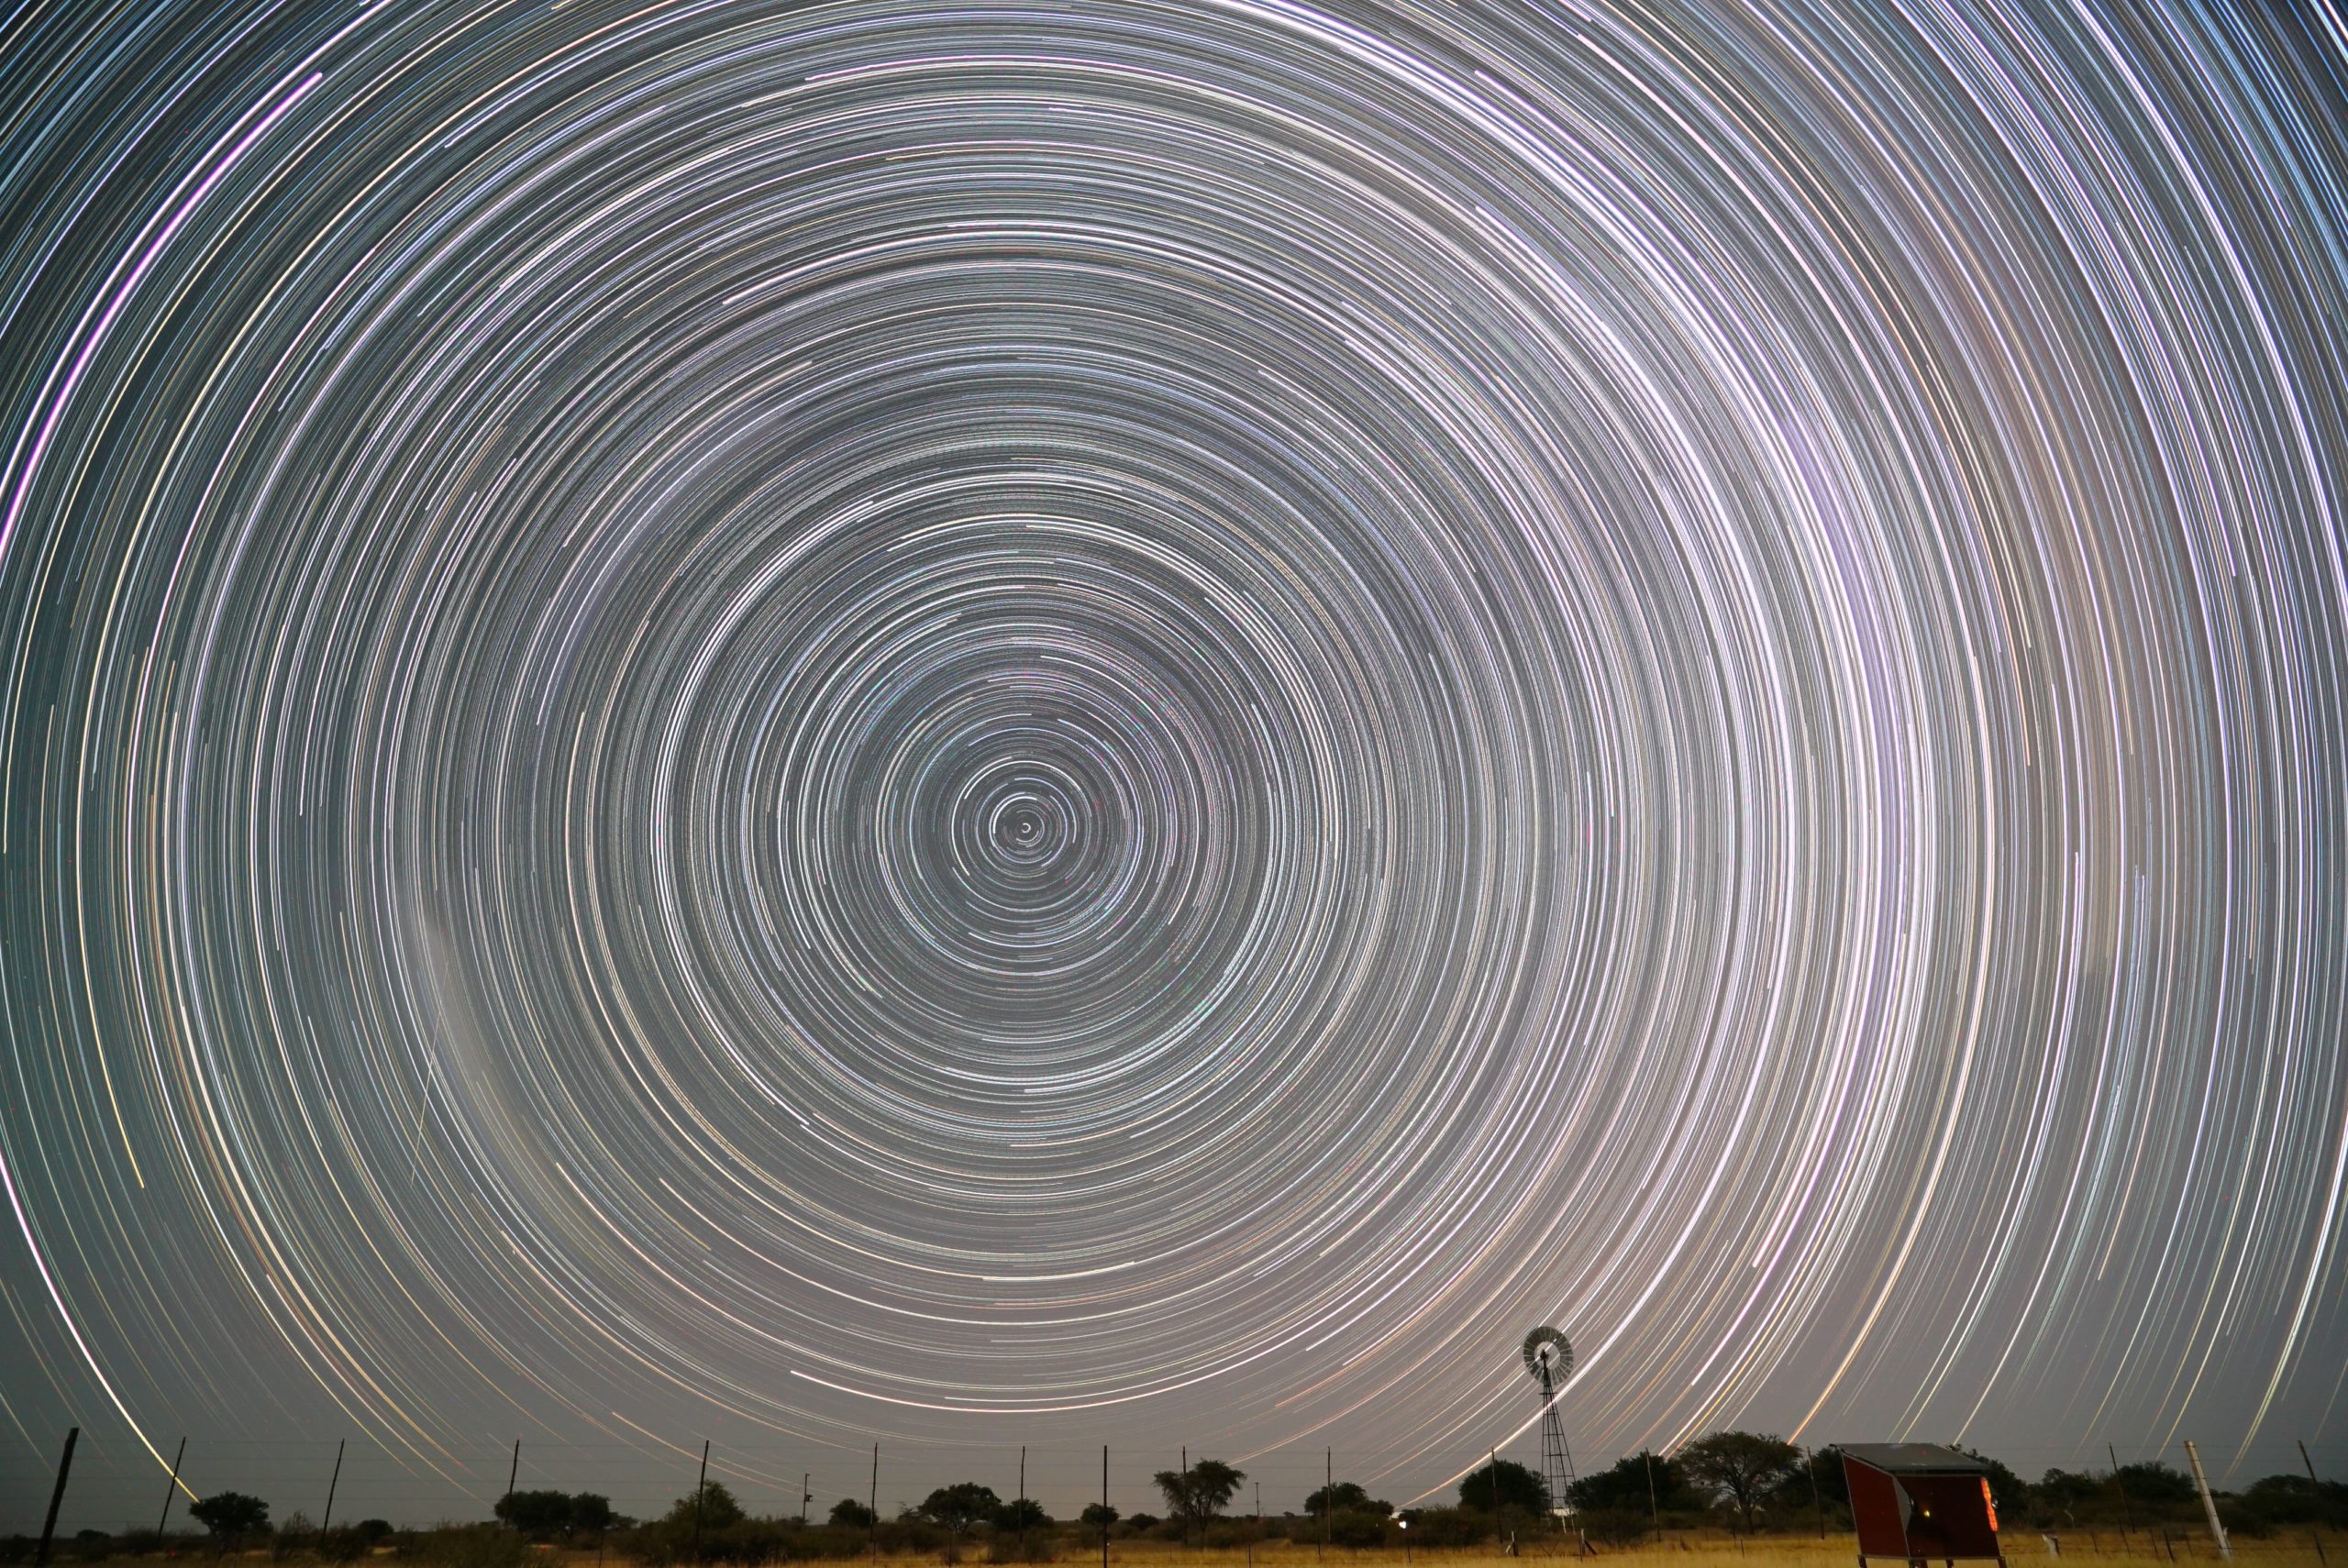
Star Trail images
So after you’ve done your northern lights painting of course, turn your lens to the stars. If you’ve got your tripod and plenty of battery, you can create star trail images by setting your focus to infinity and using the longest exposure you’ve got available to you.
This can be a tricky situation, because you may need to set your camera to the bulb setting, or acquire a cable release for your specific camera model to allow these unusual levels of exposure. (We are talking about 15-30 minute long exposures here!)
But, thanks to aids like Startrails, you can also take shorter exposure images, and the program will layer them together for you. This process makes this type of photography a bit more accessible to the novice astrophotographer, and it cuts down on image noise as well.
This is a special branch of nighttime photography, so have a look around if you’re interested! There is a whole world of star trail enthusiasts, and a million tried and true practices for getting the kind of images you want.
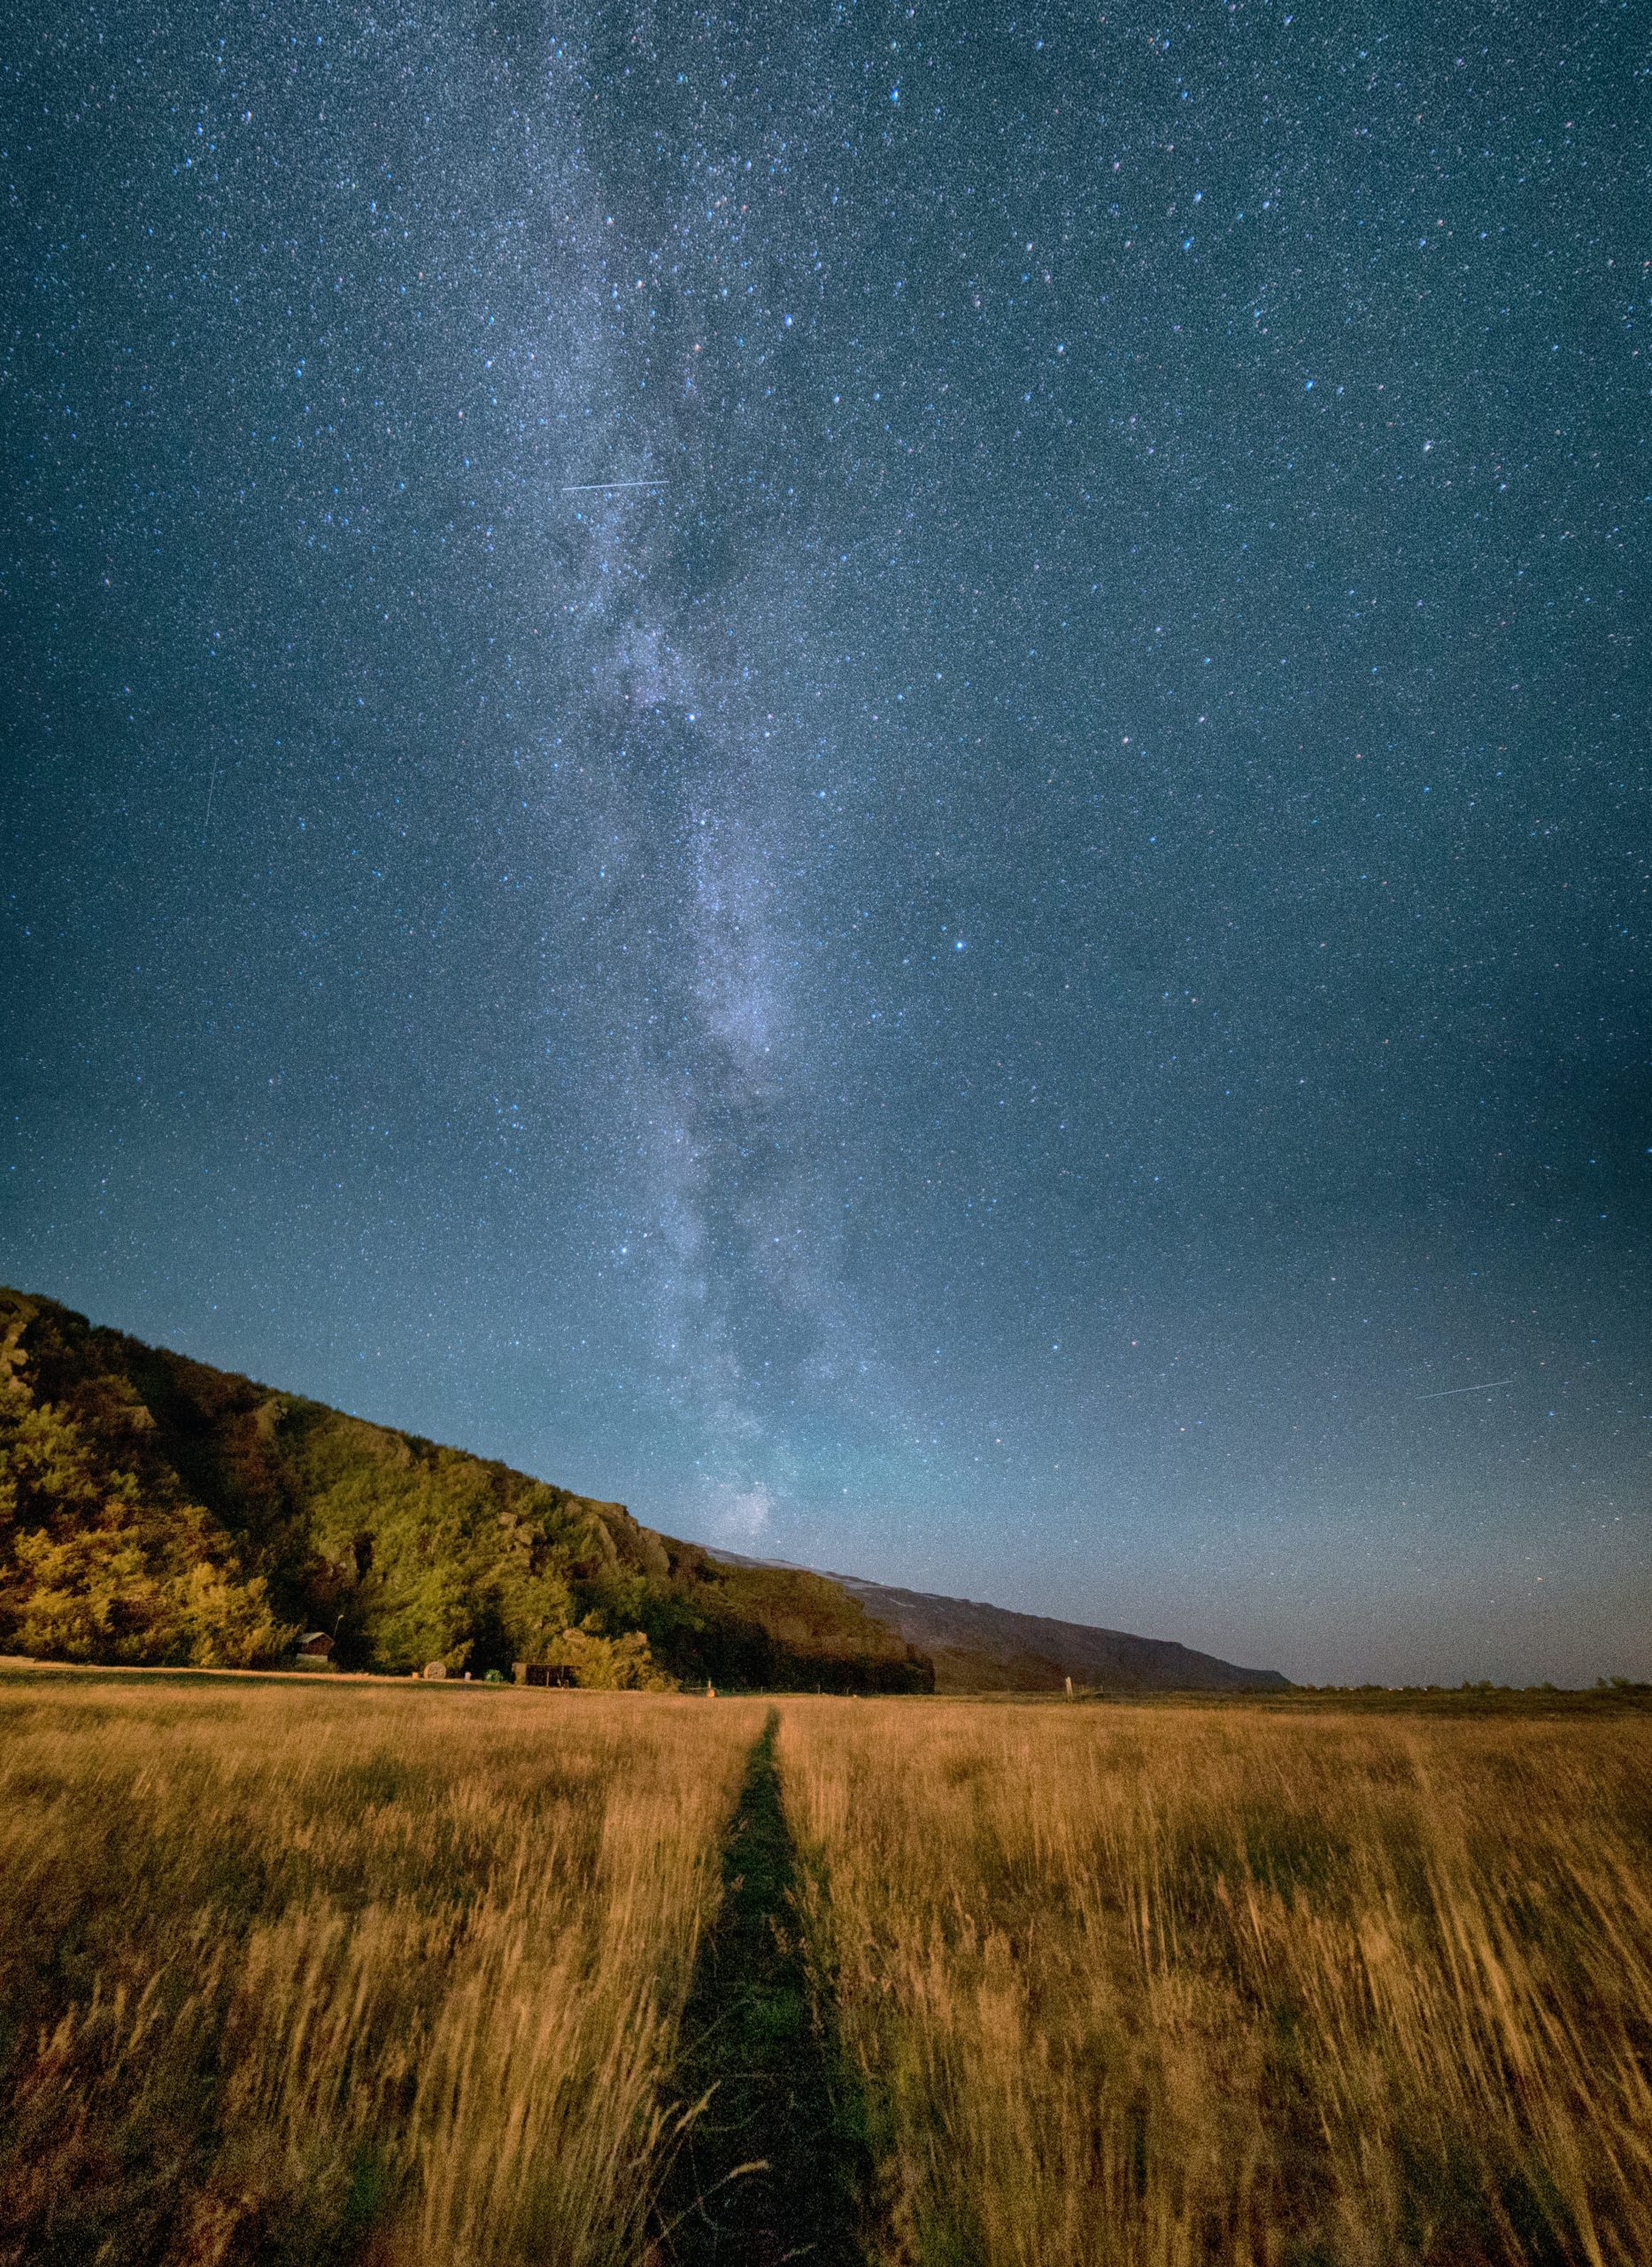
Galaxy Photos
If you’re looking to capture nebulas and far off bodies of celestial light, you may need some specialized gear. Many of these photos are taken with professional attachments and some are even captured through telescope attachments!
If you’ve got a telescope with you and want to venture into that realm of photography, go forth and please send us a copy! We’d love to see it. But for those of you who are trying to capture a galaxy with your DSLR, you may be in luck.
It’s not the easiest, but it is possible. You’ll need a lot of the same stuff you’d bring with you for northern lights photos, so make sure you’ve loaded up your manual capable camera, a sturdy tripod, a fast lens and some patience.
A new item that you’ll need is a starmap app. An interactive map can help you locate the milky way for that evening, which will cut out a lot of the guess work. Above all, you need to be in a dark place. Just like aurora hunting and northern lights painting, light pollution drowns out the good stuff.
Just like the star trail photos, you’ll be working with a pretty long shutter. As you try this out, don’t be disappointed if your photos don’t look quite as outrageous as some of the galaxy shots you’ve seen.
Many photographers in this field are utilizing specialized gear, processes like time blends and startracking, and doing a lot of heavy lifting in a post processing software like Photoshop.
These images are sometimes the product of a great composite job, or a lot of really skillful editing in a RAW image. You can certainly capture a viable shot with your regular aurora gear, but if you’re interested in this- don’t despair! All of these tricks can be learned, and there is ample information on the web to help you. Everybody has to start somewhere.
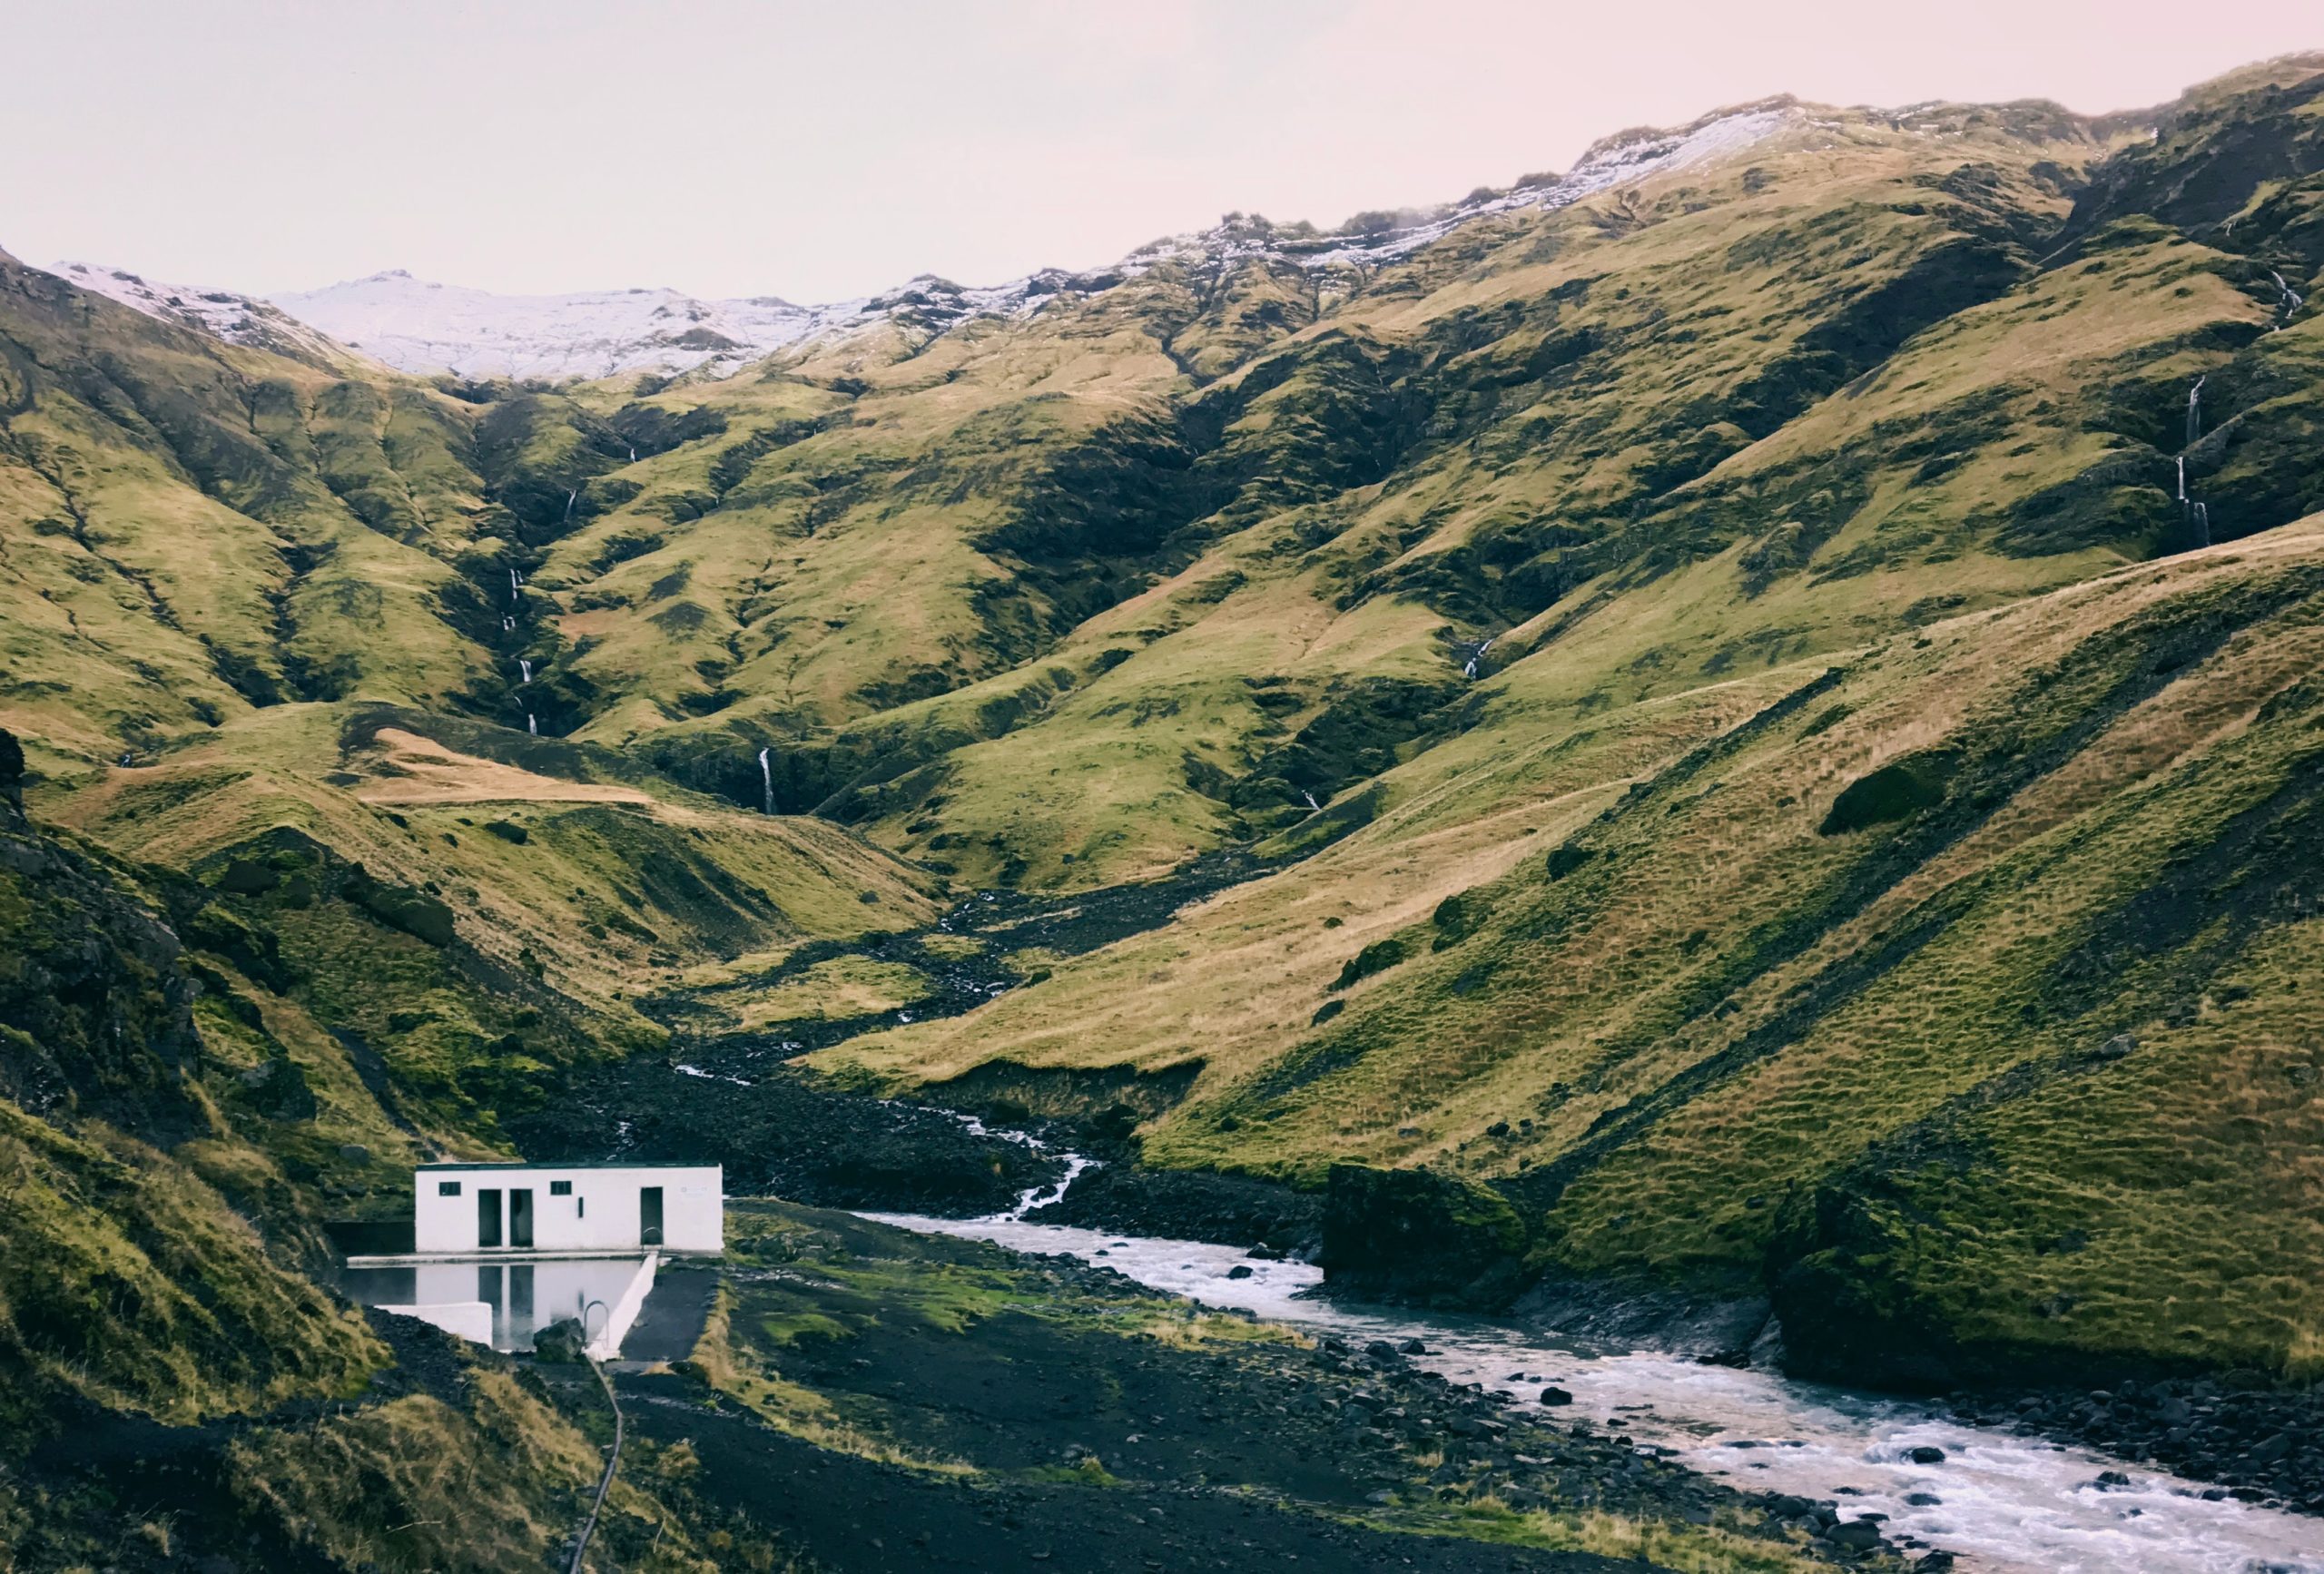
4. Hot spring night soaks
Now here’s an activity that you don’t need a camera for. (Unless you want to make some friends extra jealous.) Half of the time, we’re doing this instead of setting up the cameras- and sometimes the lights come out anyways!
The best seat in the house is always in the hot pot. Iceland’s geothermal landscape is a treasure chest of natural hot springs and great places to soak. But despite that, Icelanders have installed geothermally heated swimming pools in nearly every town, and hot tubs at many summer houses.
If there’s a pool to sit in, we can almost promise it’s heated. (Unless it’s an ice pool, that’s a thing.) If you’re staying in town, there’s a swimming pool near you that is accessible for a low price year round, and if you’re extra lucky, you may have a hot pot in your vicinity.
If you’re a hiker, you can venture forth into a natural hot spring like Reykjadalur, or even Landmannalaugar. If you choose these wilder options, remember to be careful.
Hiking in the colder aurora season and in the darkness is a next level activity, and should only be taken on by aurora hunters that are confident in their trekking skills. Make sure to tell a friend where you’re headed, and bring the appropriate gear.
And check the weather! Some of these natural springs are in mountainous places that experience quickly changing weather and limited visibility, so it’s good to understand the area before you set out.
But if you make it.. Enjoy! There’s nothing in the world like laying in a wild hot spring at night watching nature make its own northern lights painting, just for you.
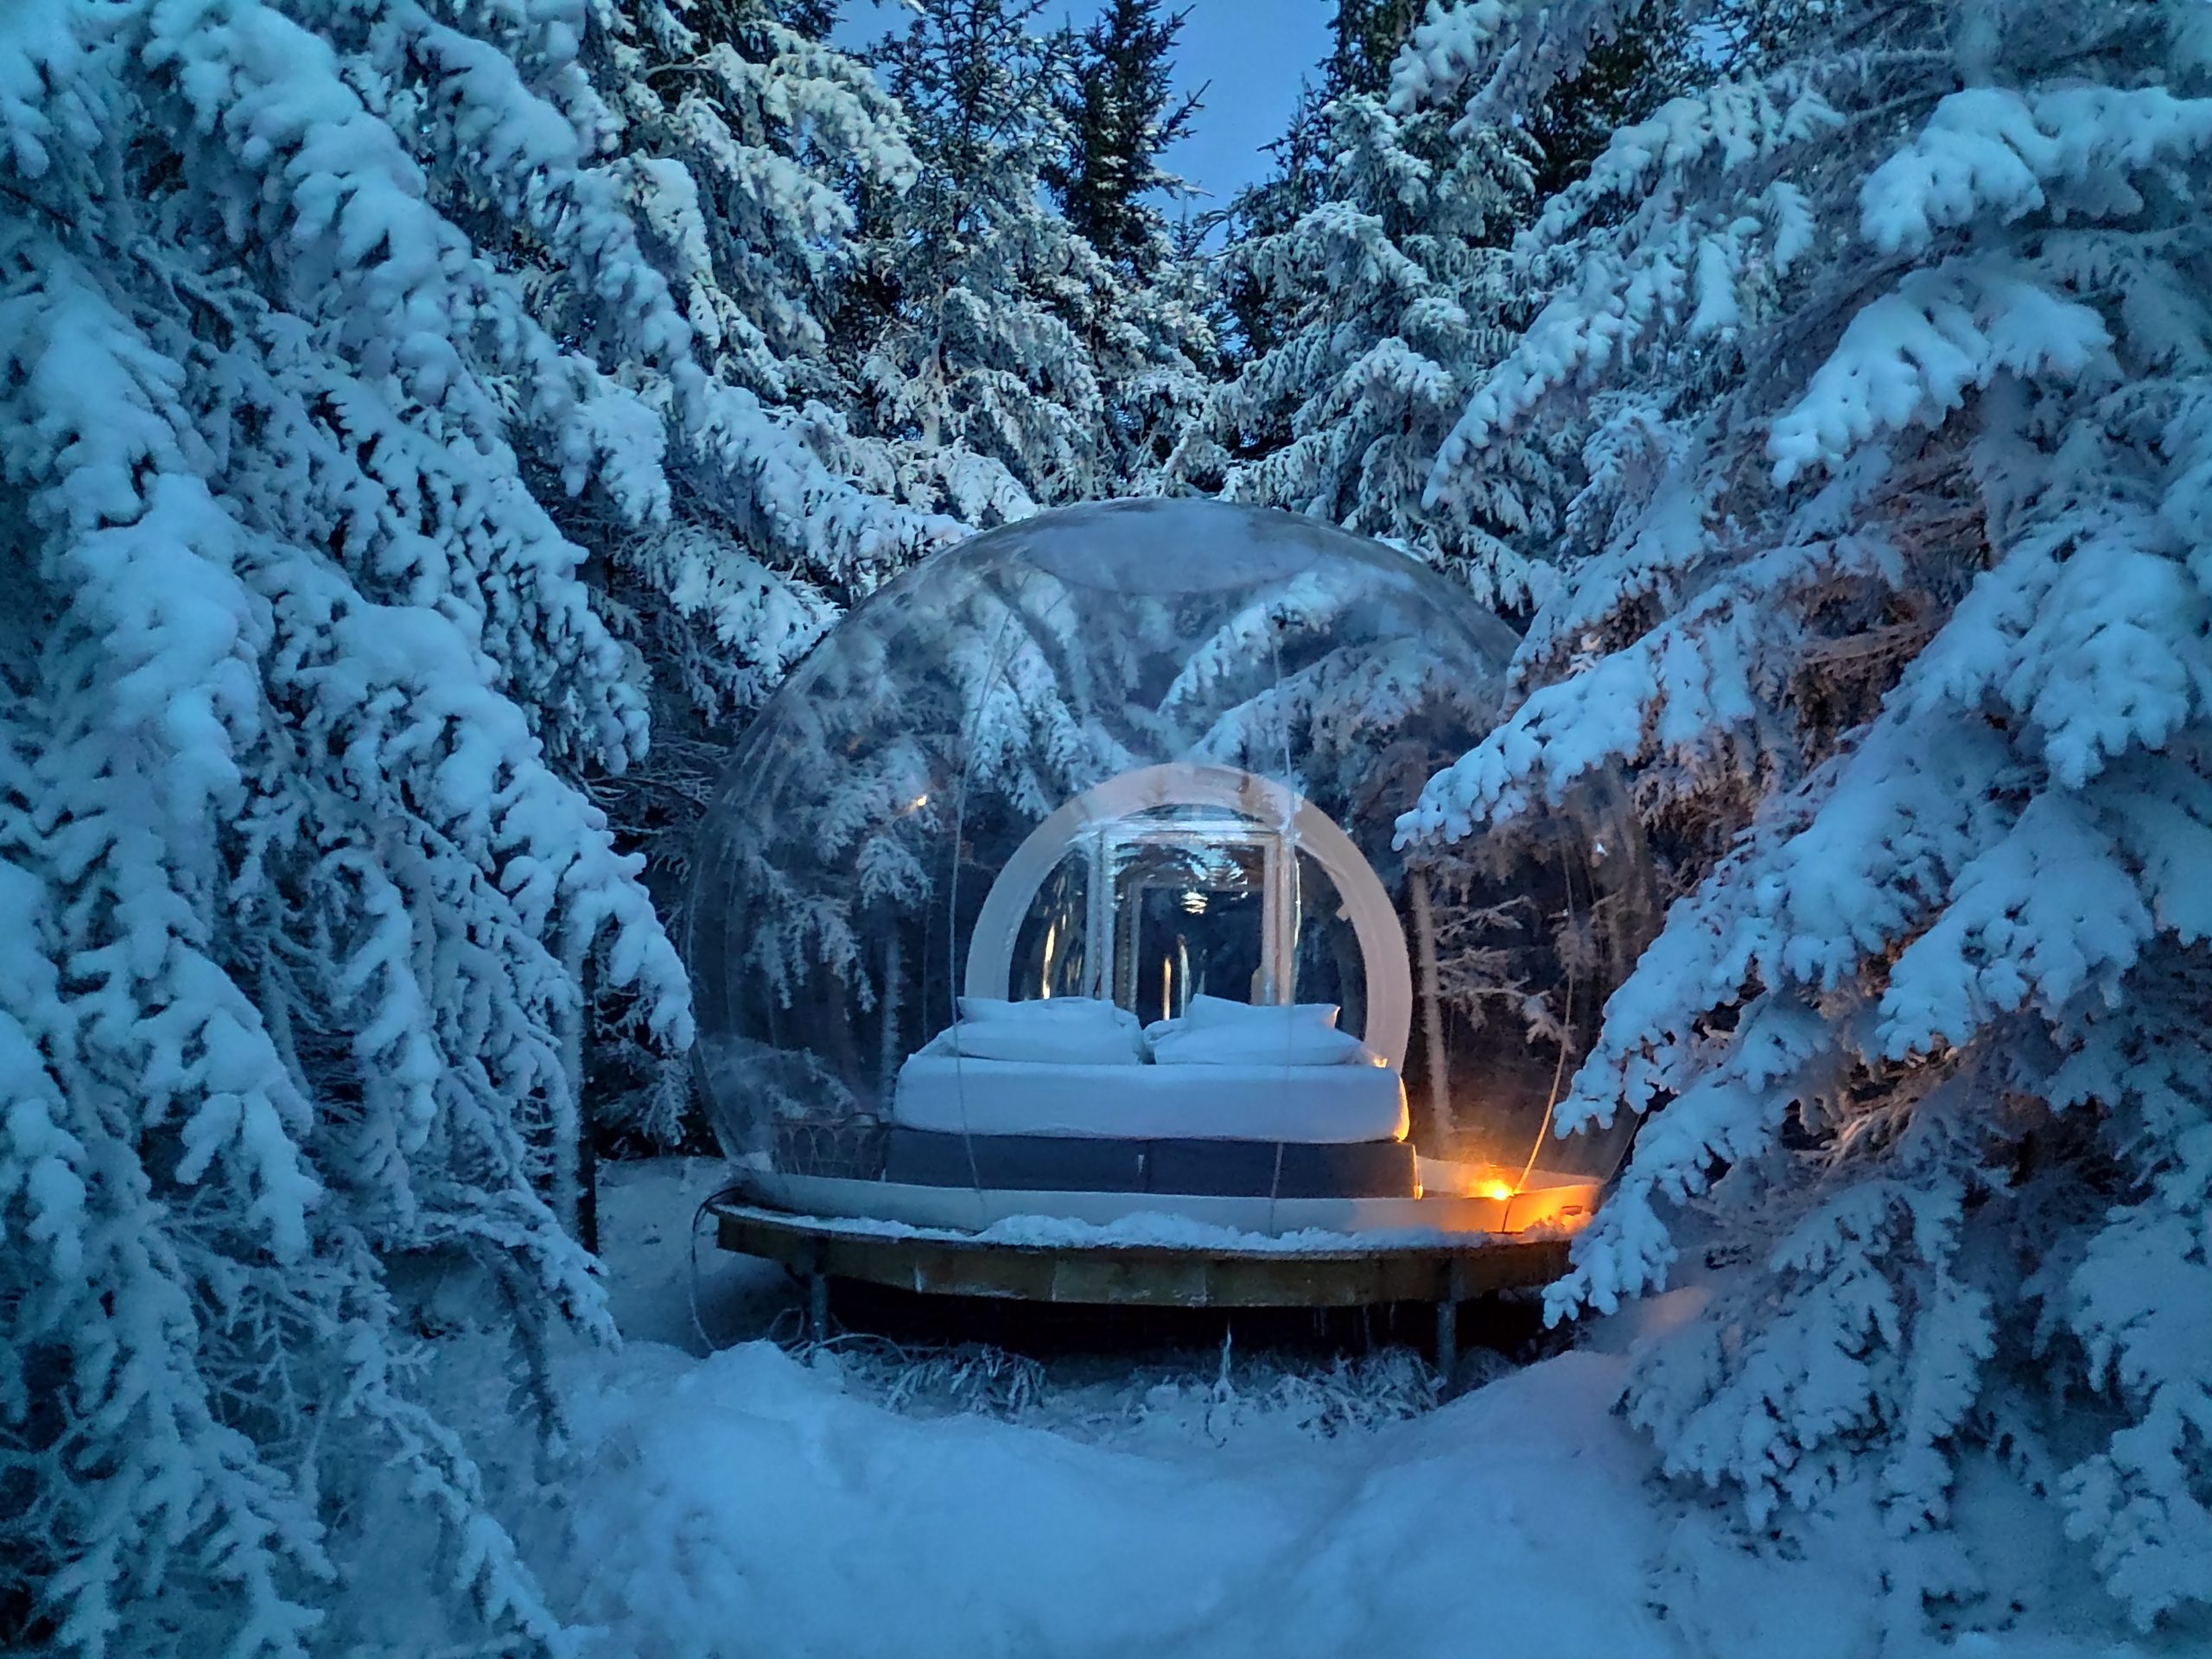
5. Lay back and pop some Bubbly
As we near the more.. Luxurious end of our list, it feels only right to mention the northern lights igloo option. If the lights are out, this is an incredible option. If they aren’t out, it’s an incredible option. If you’re here in the summer, it’s an incredible option. You can’t go wrong with this activity.
The Bubble Hotel of Iceland consists of a handful of fully transparent domed igloos that are tucked away in the embrace of two lush forests. This means you’ve got two location choices, and all the nature you can handle.
These hideaways are sequestered in their own groves, heated, and outfitted with their own luxury sleeping accommodations. To catch the lights, we often wait outside for long periods of time in the wind, weather, and low temperatures.
But imagine if you could do it wrapped in a down comforter with gourmet treats, in bed? Because of their rural locations, you’ll have all the darkness you need for optimal aurora watching or stargazing.
If you catch the lights out here, there’s no better seat. But if you don’t- you still get to walk away with a night spent in the height of luxury, surrounded by the grandeur of raw Icelandic nature on all sides.
It’s certainly the furthest away you can get from roughing it, while still being right in the middle of the woods. So excuse us while we slip into something a bit more.. Comfortable.
